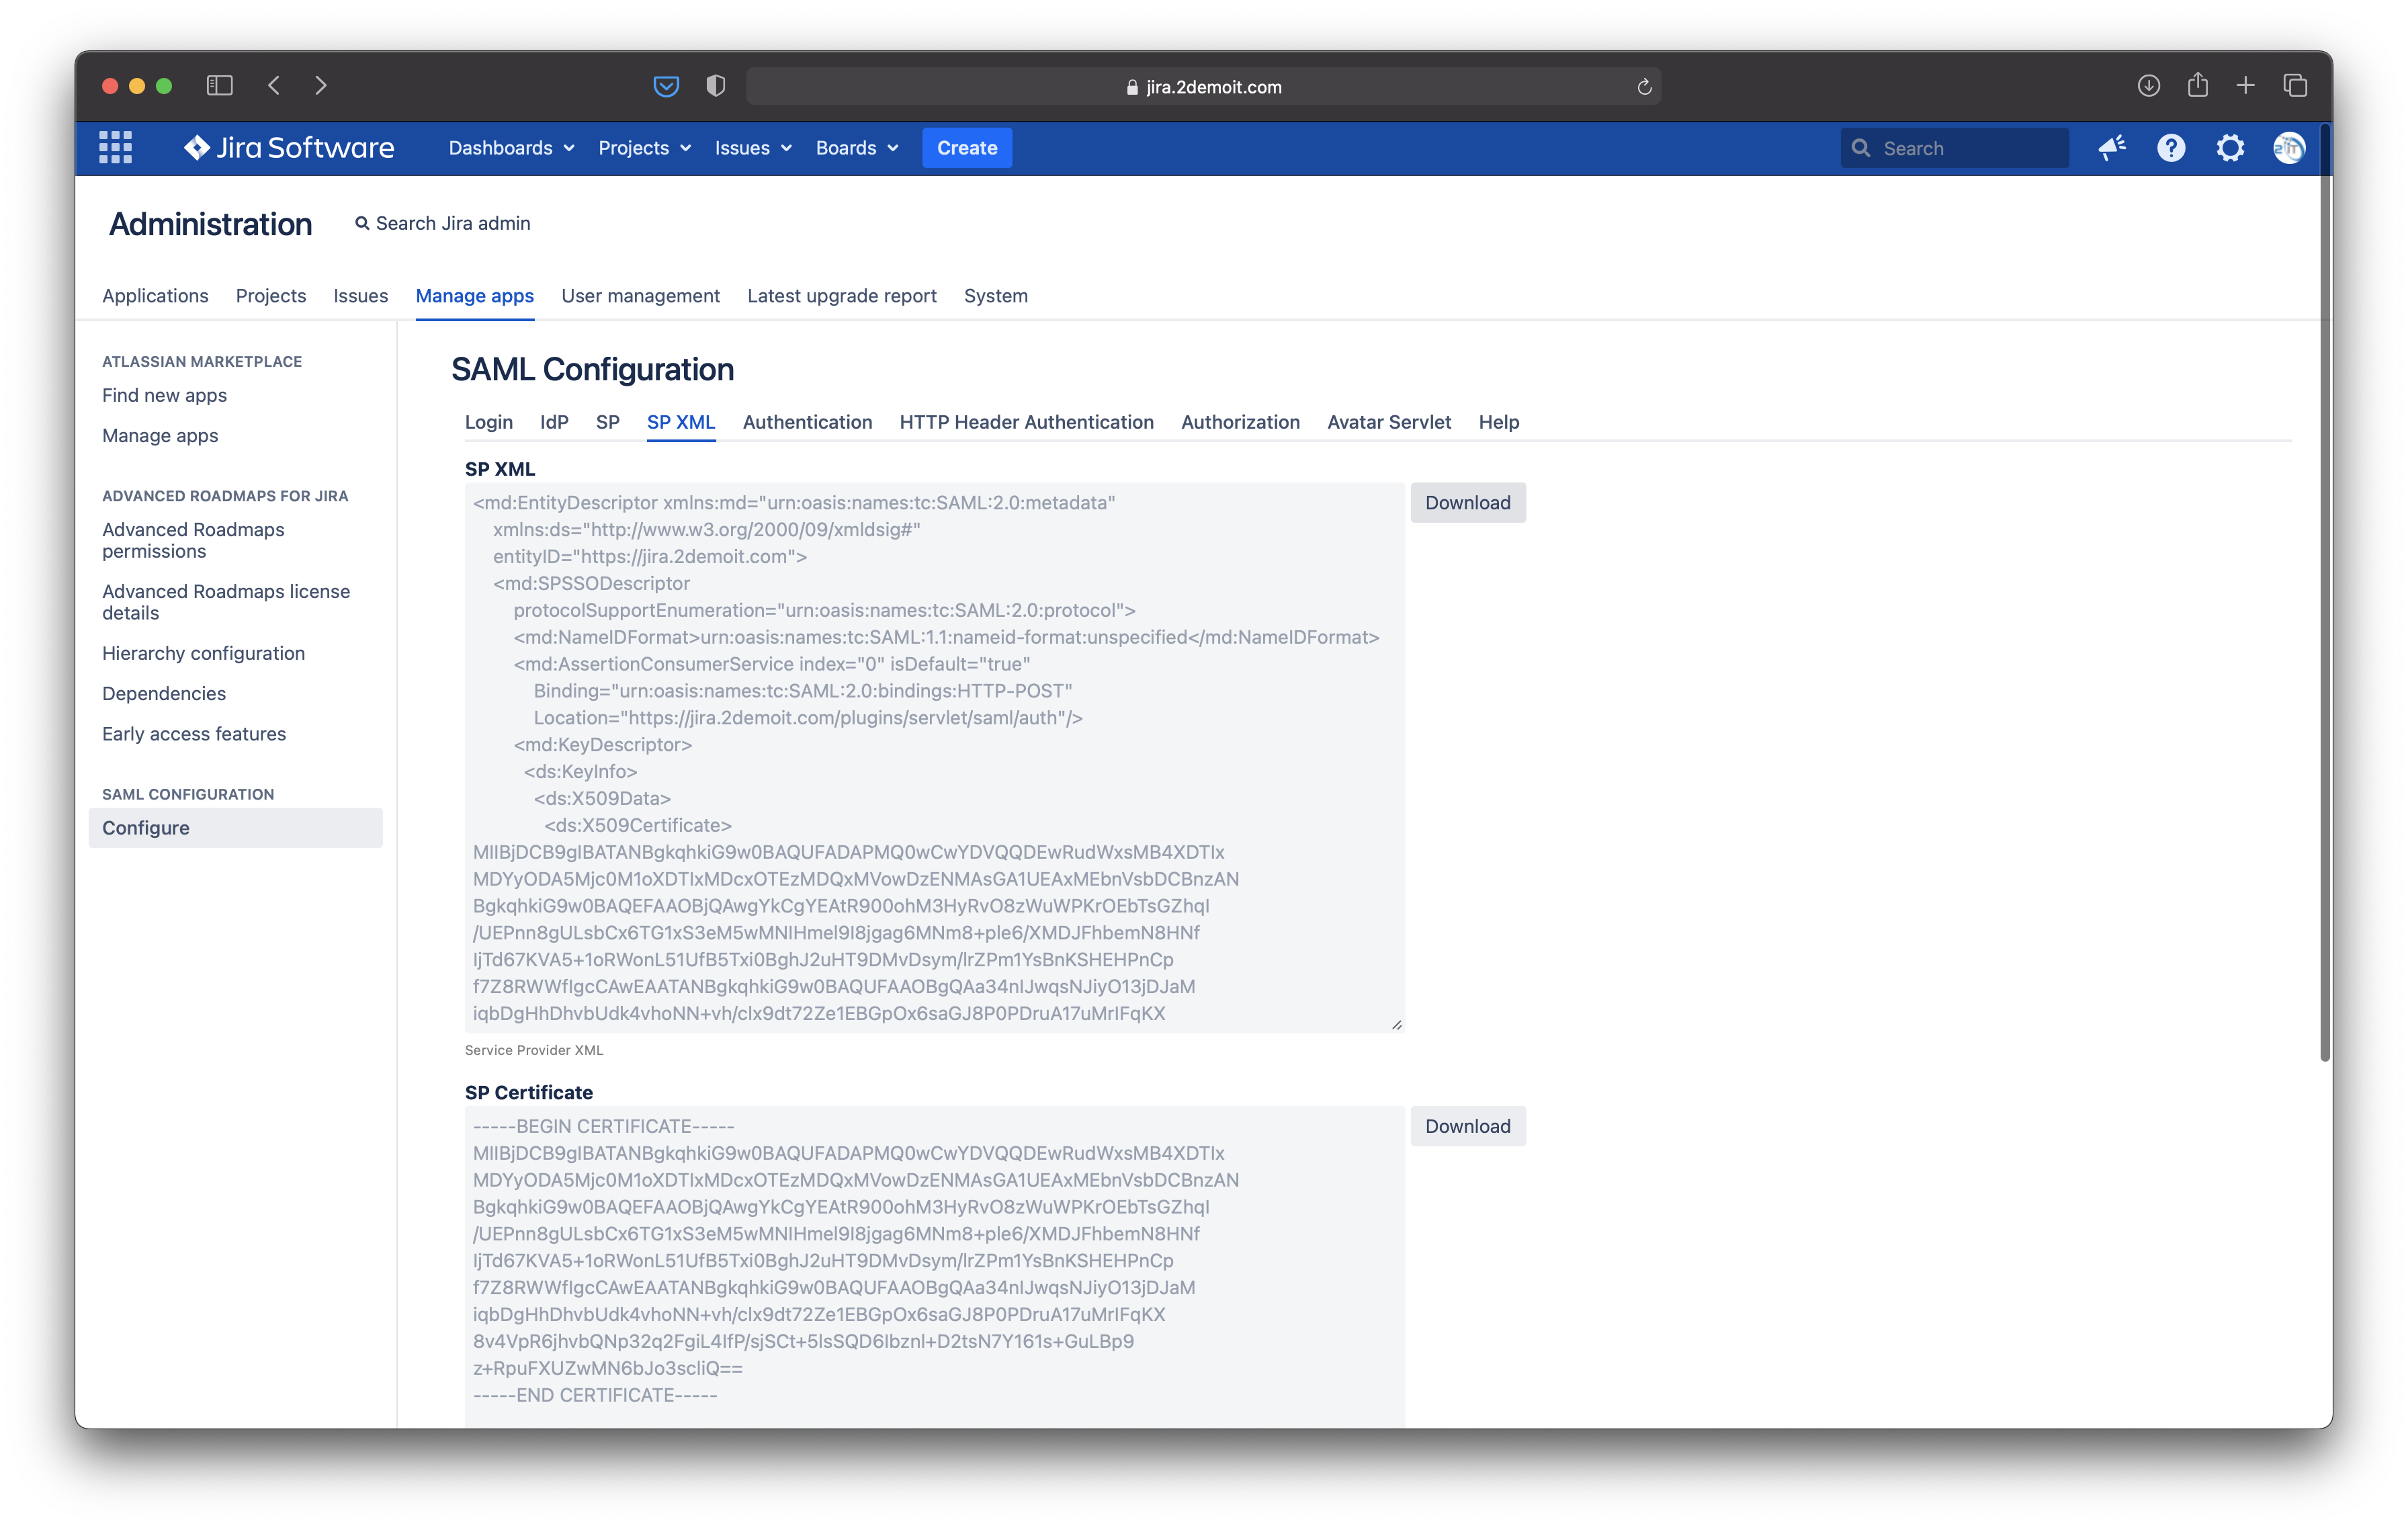
In the SAML plugin configuration, download the "sp xml"
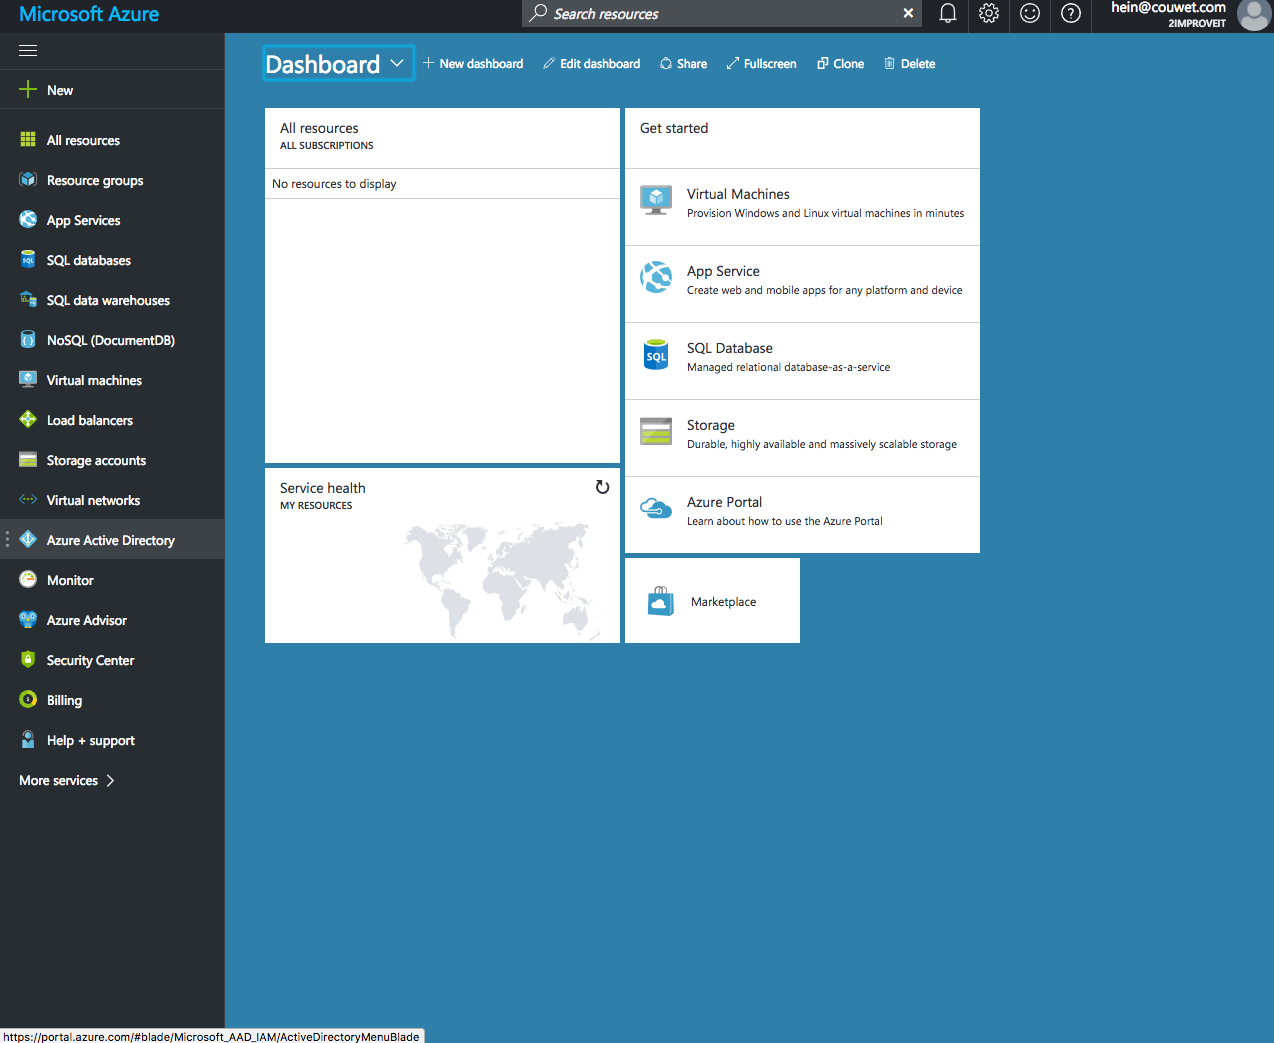
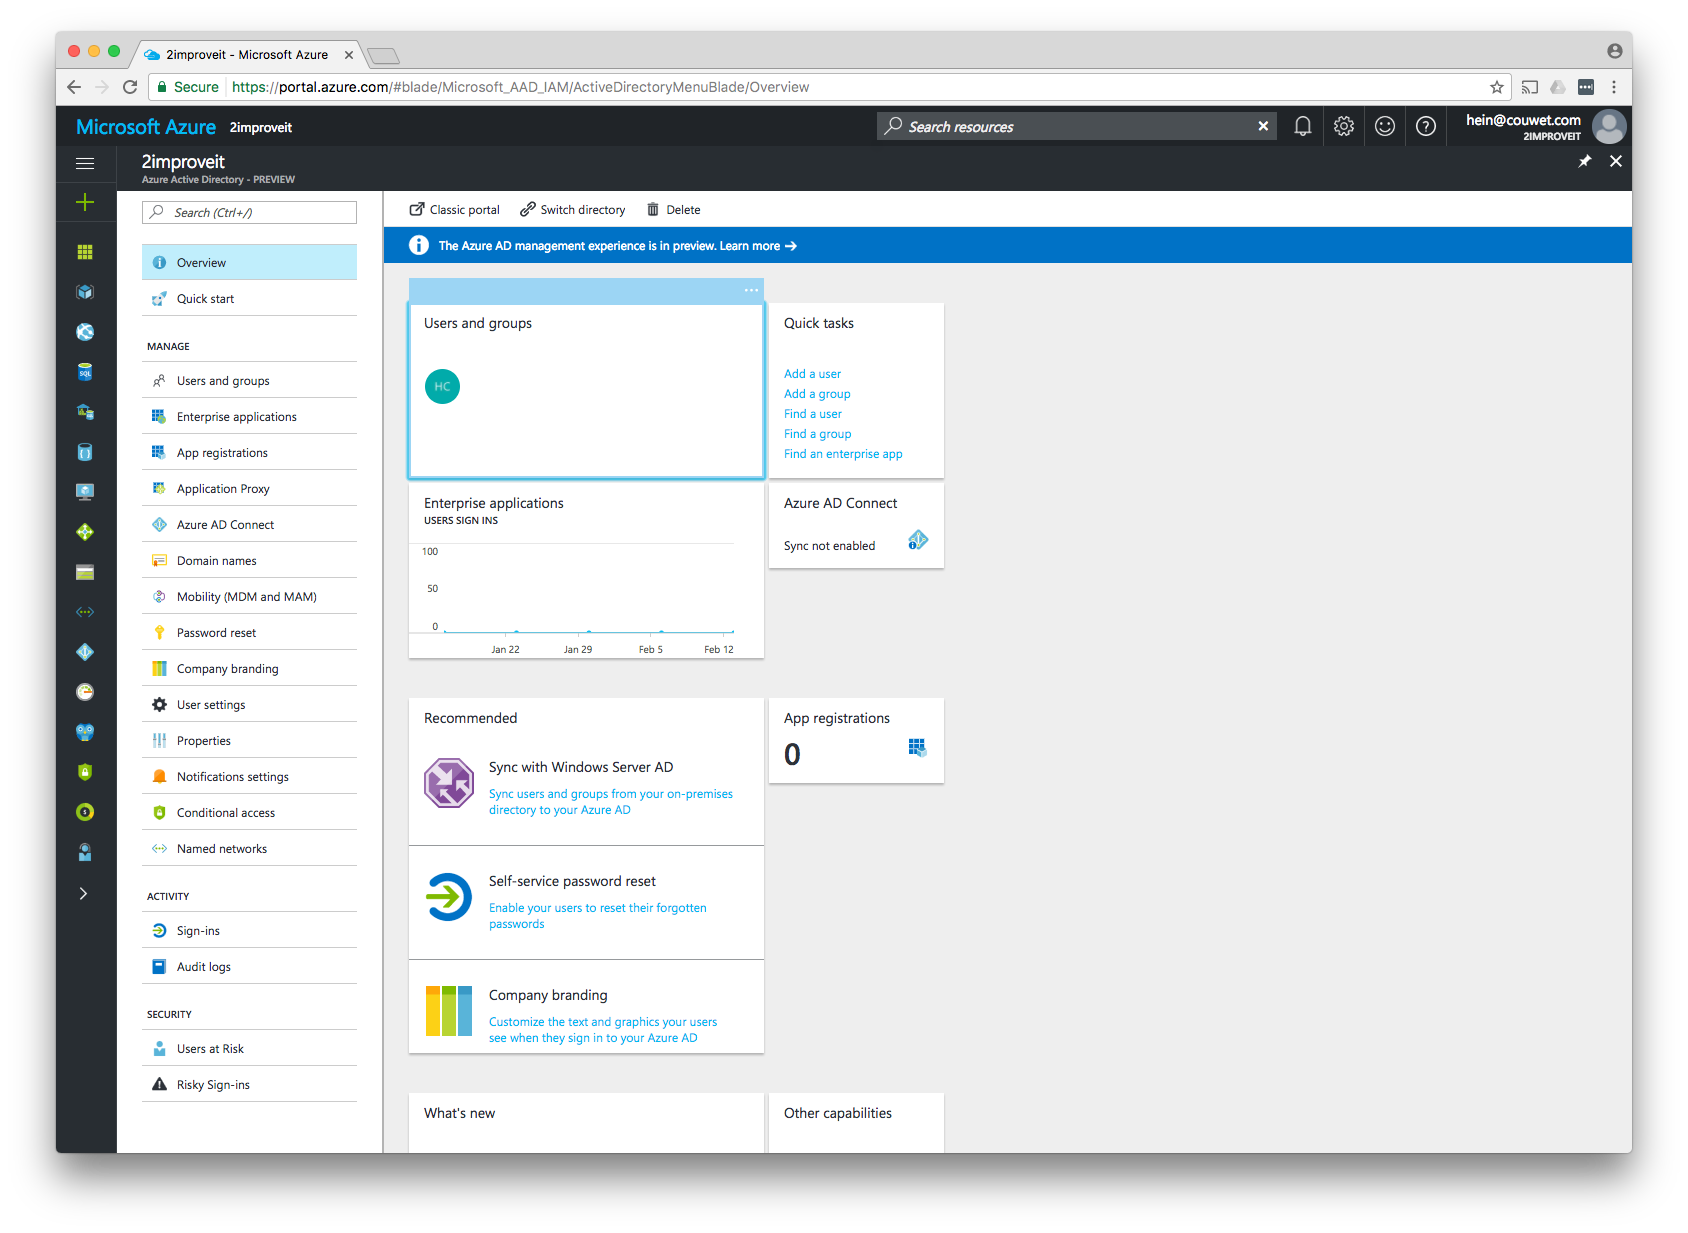
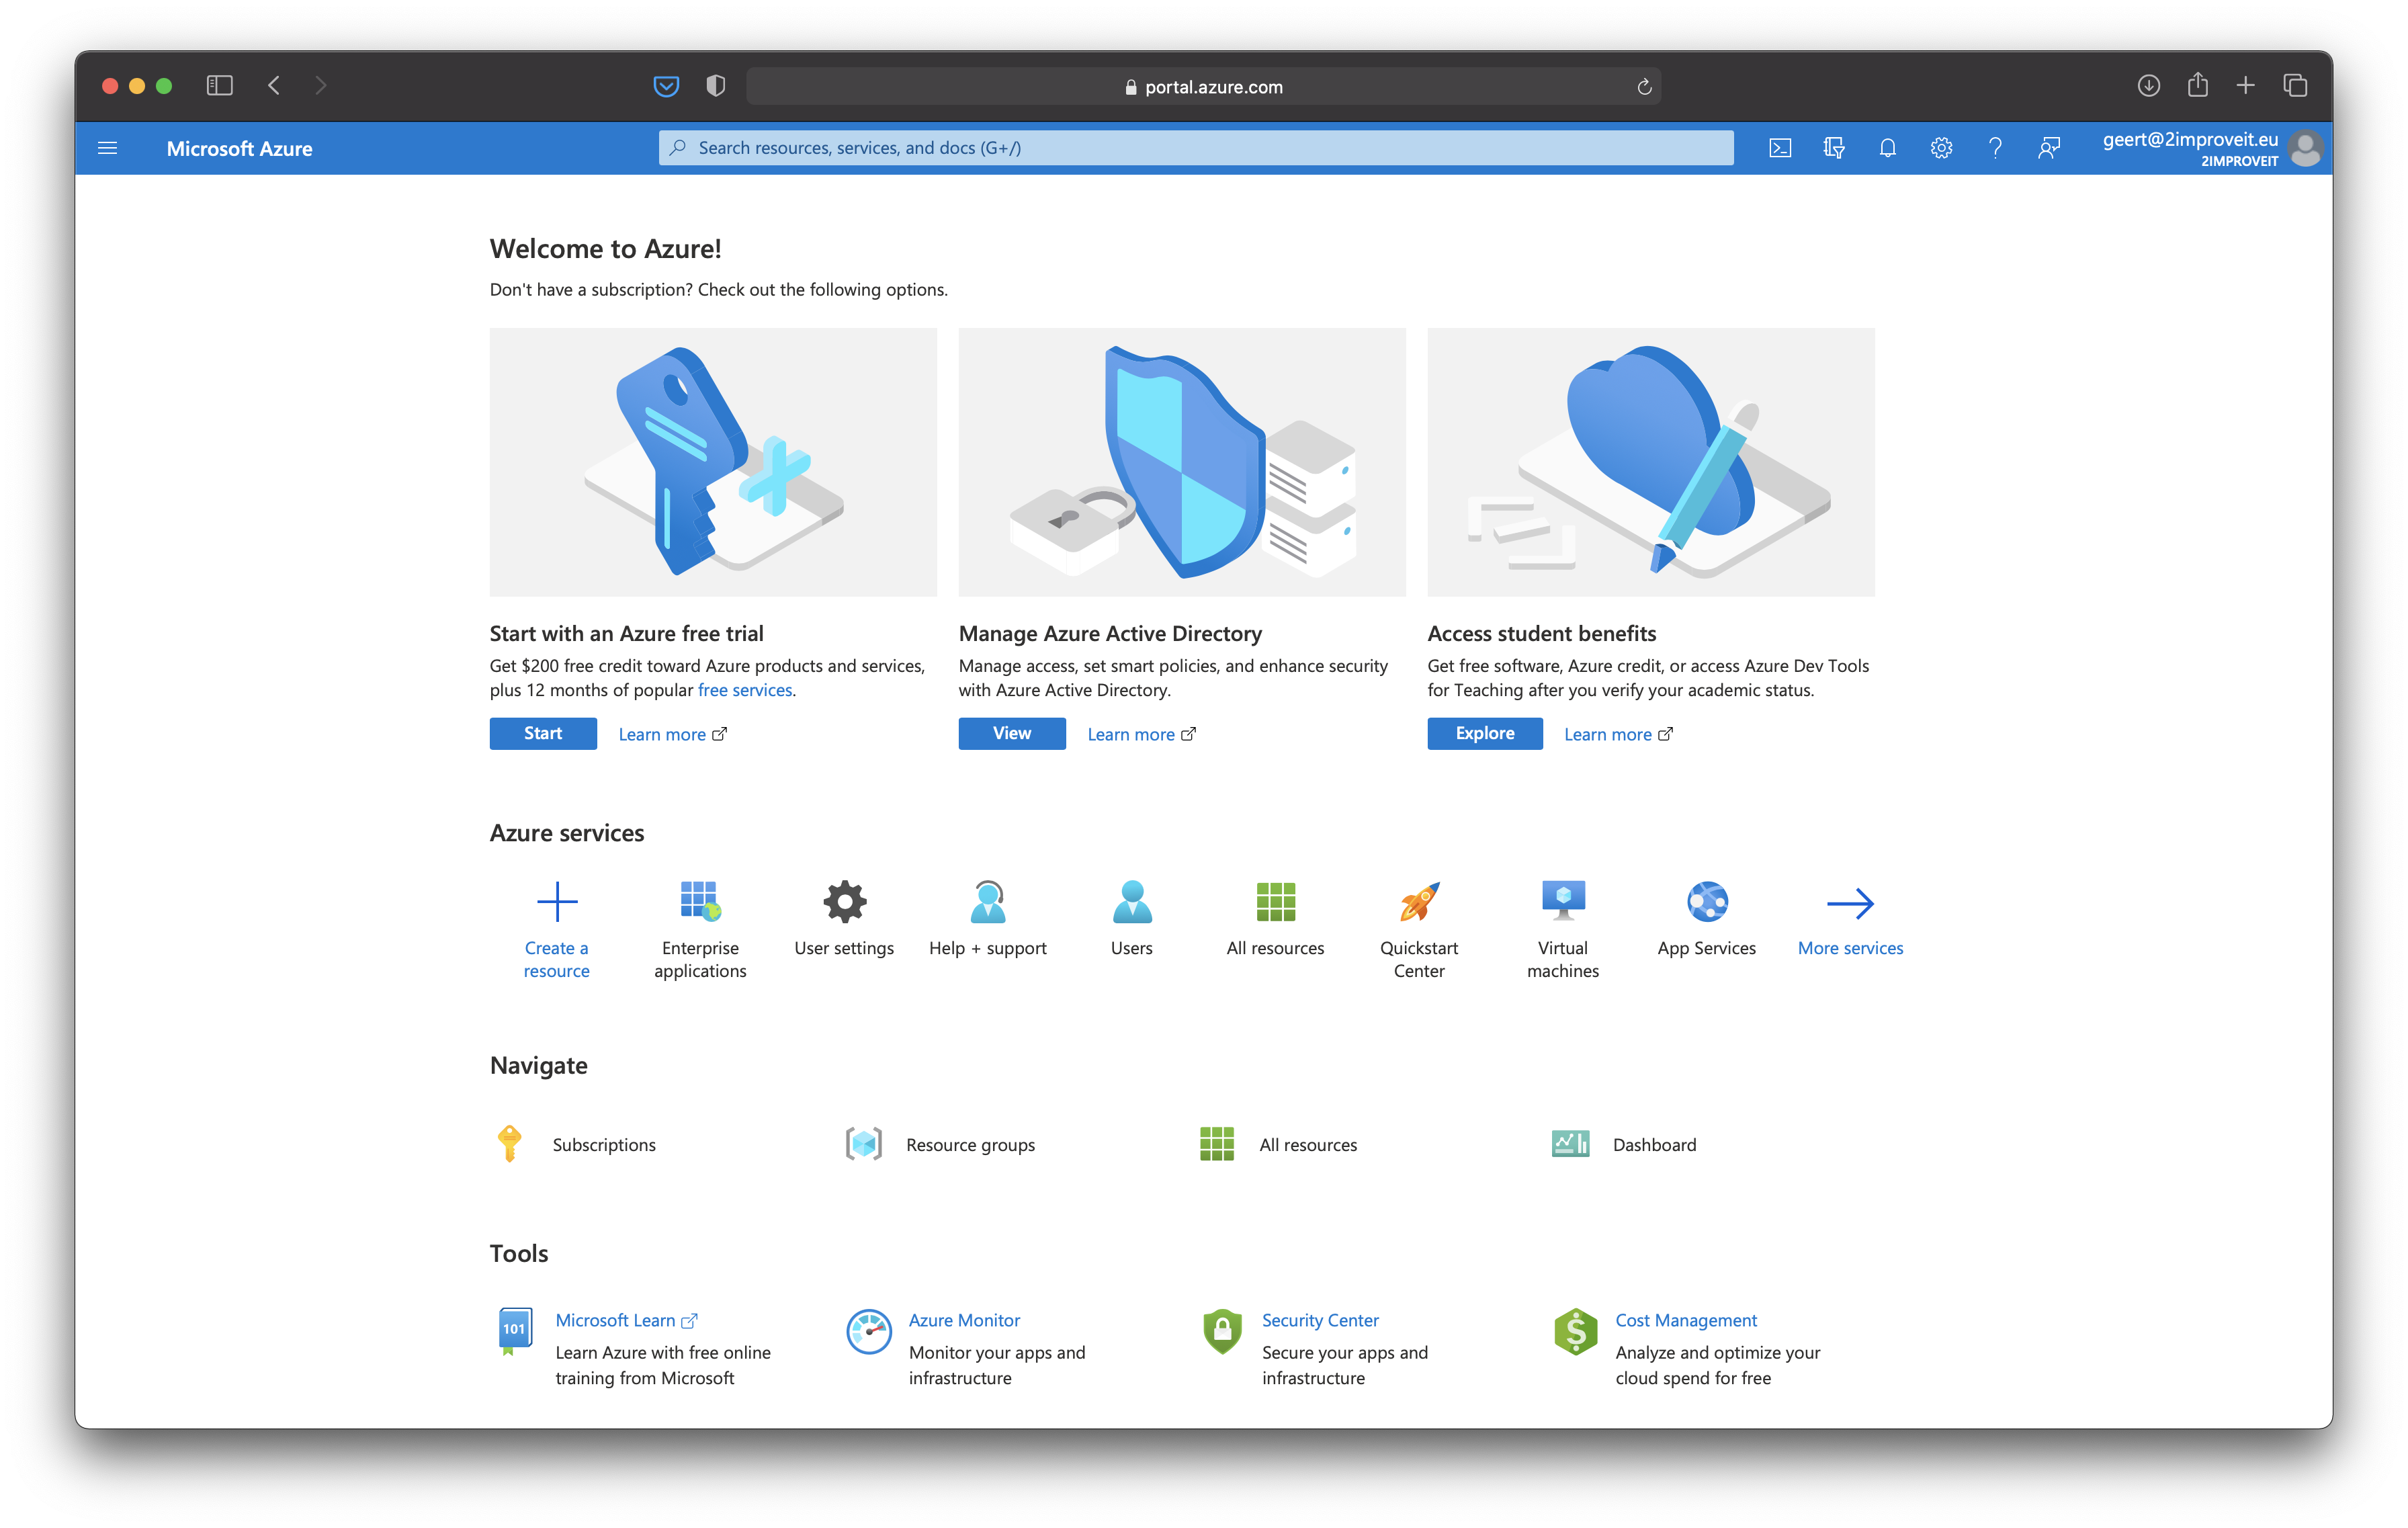
Login into Azure and choose Azure Active Directory
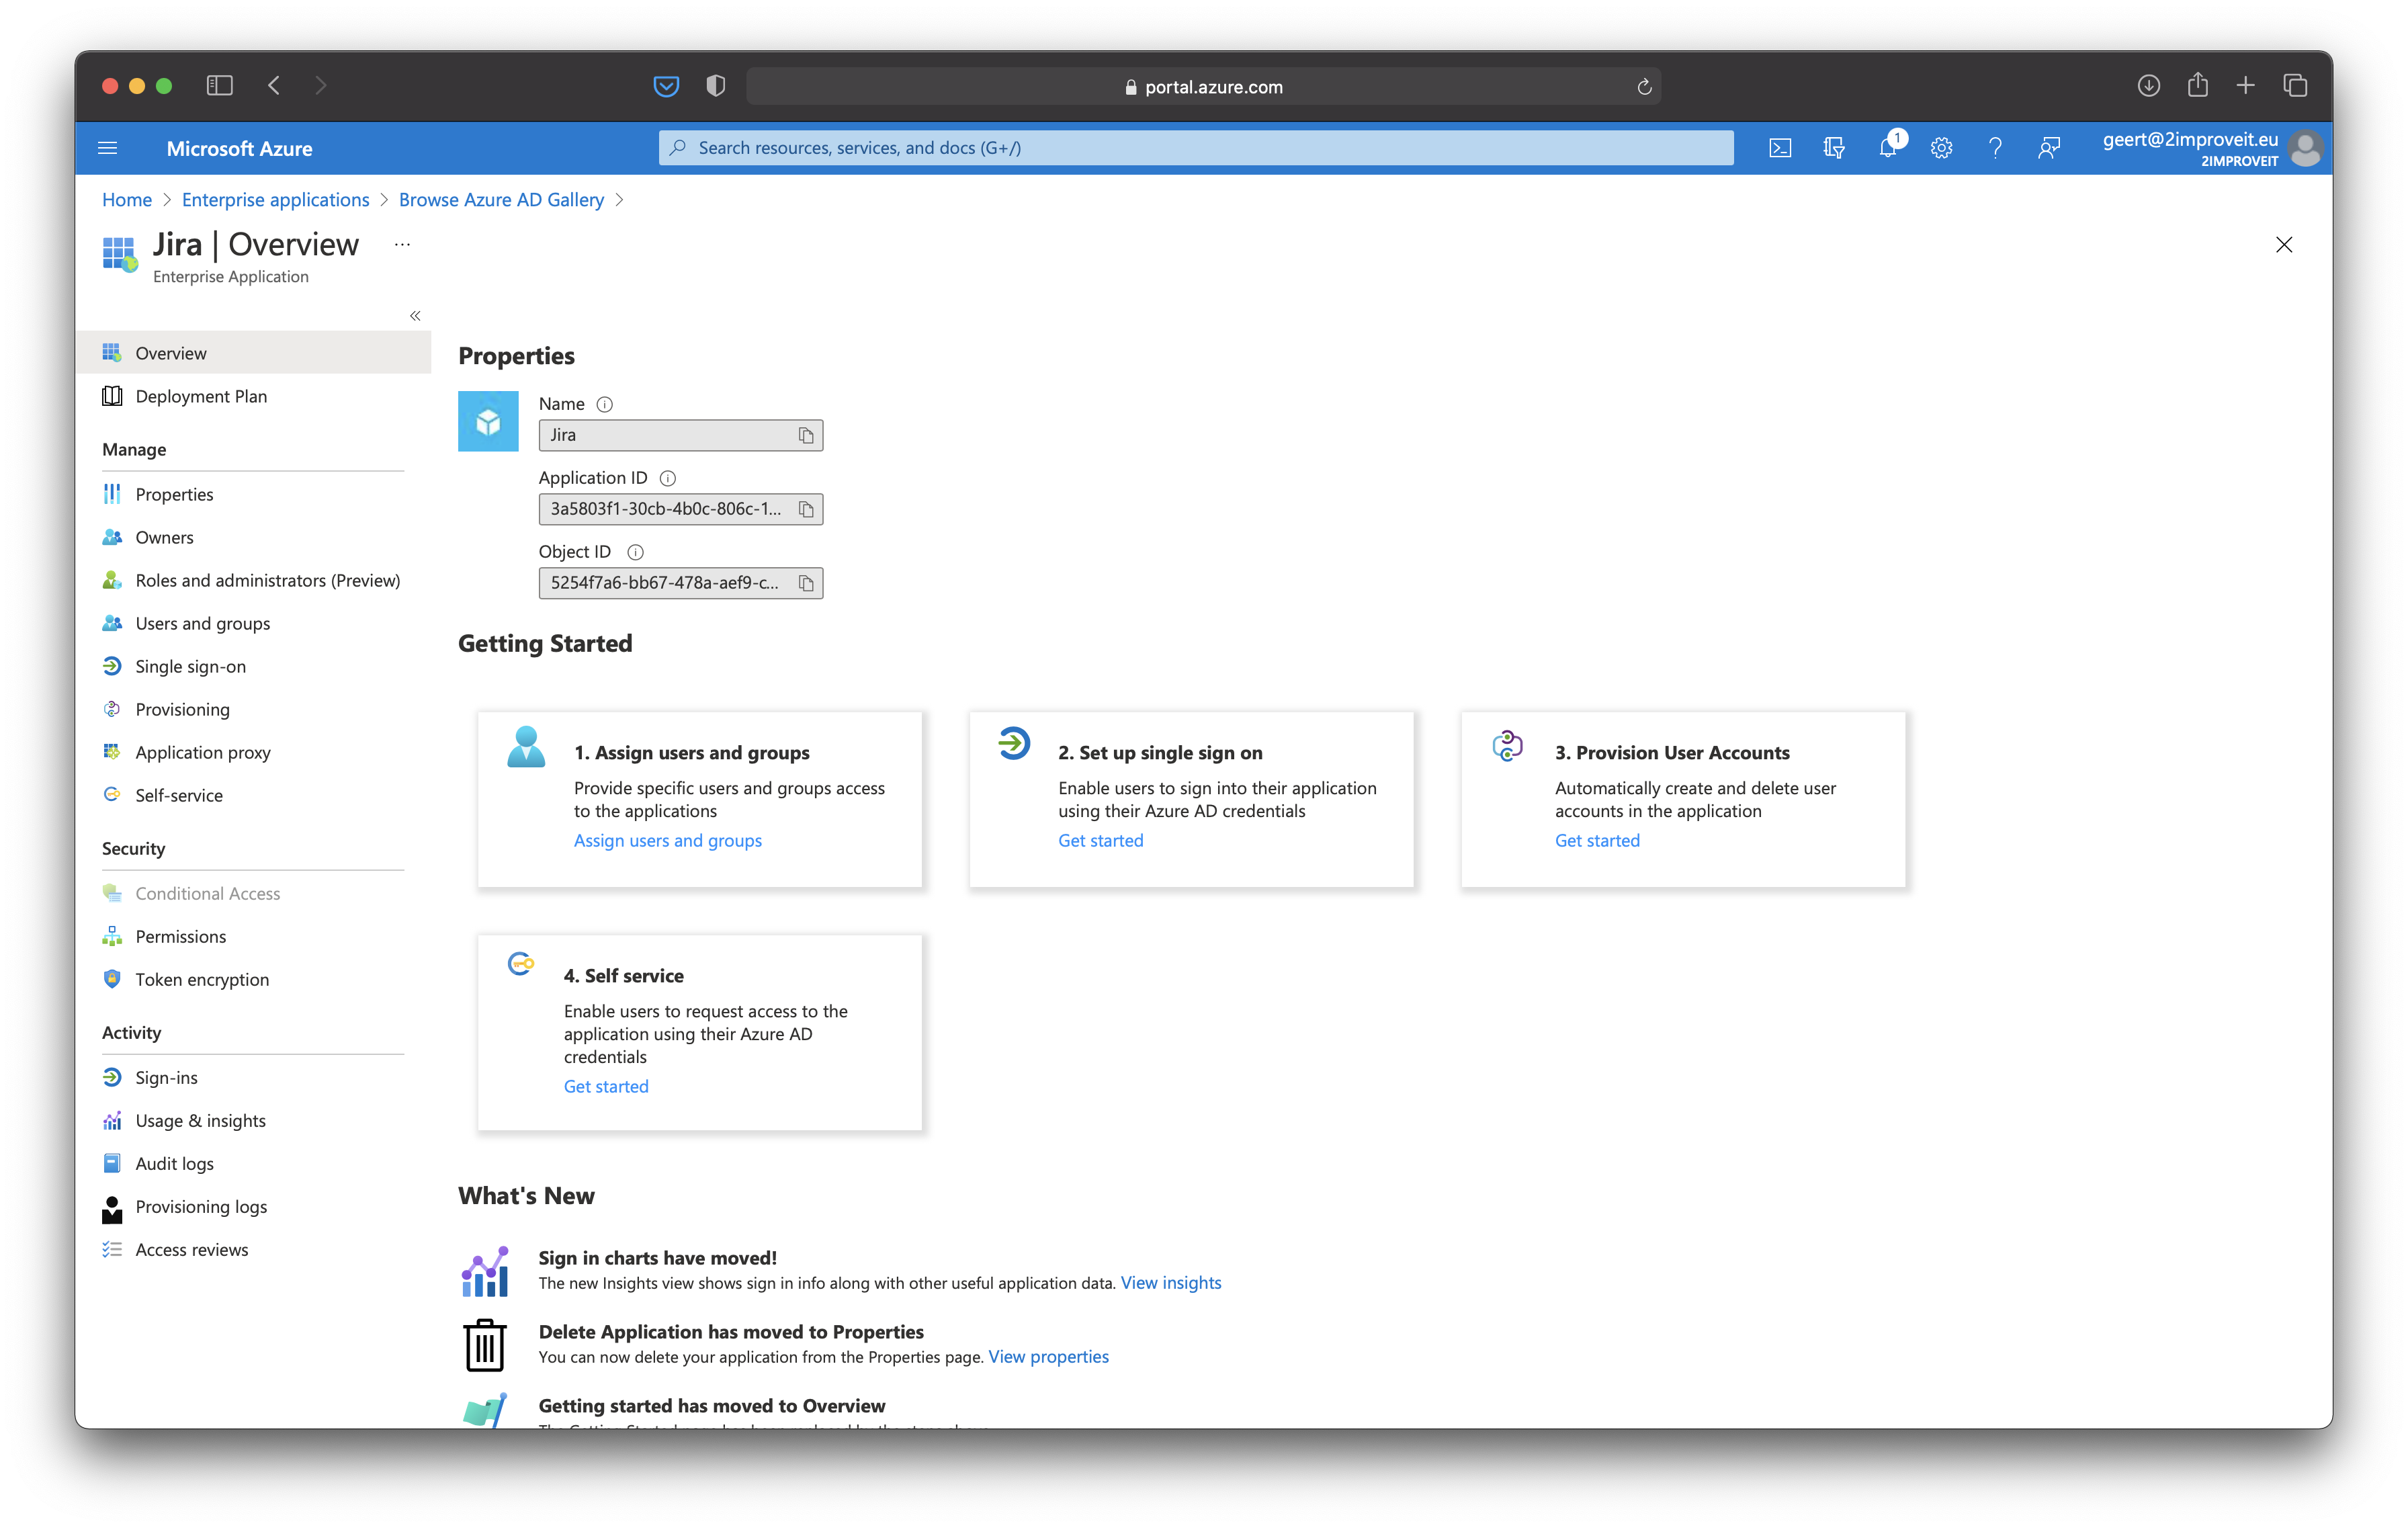
Click on Enterprise applications
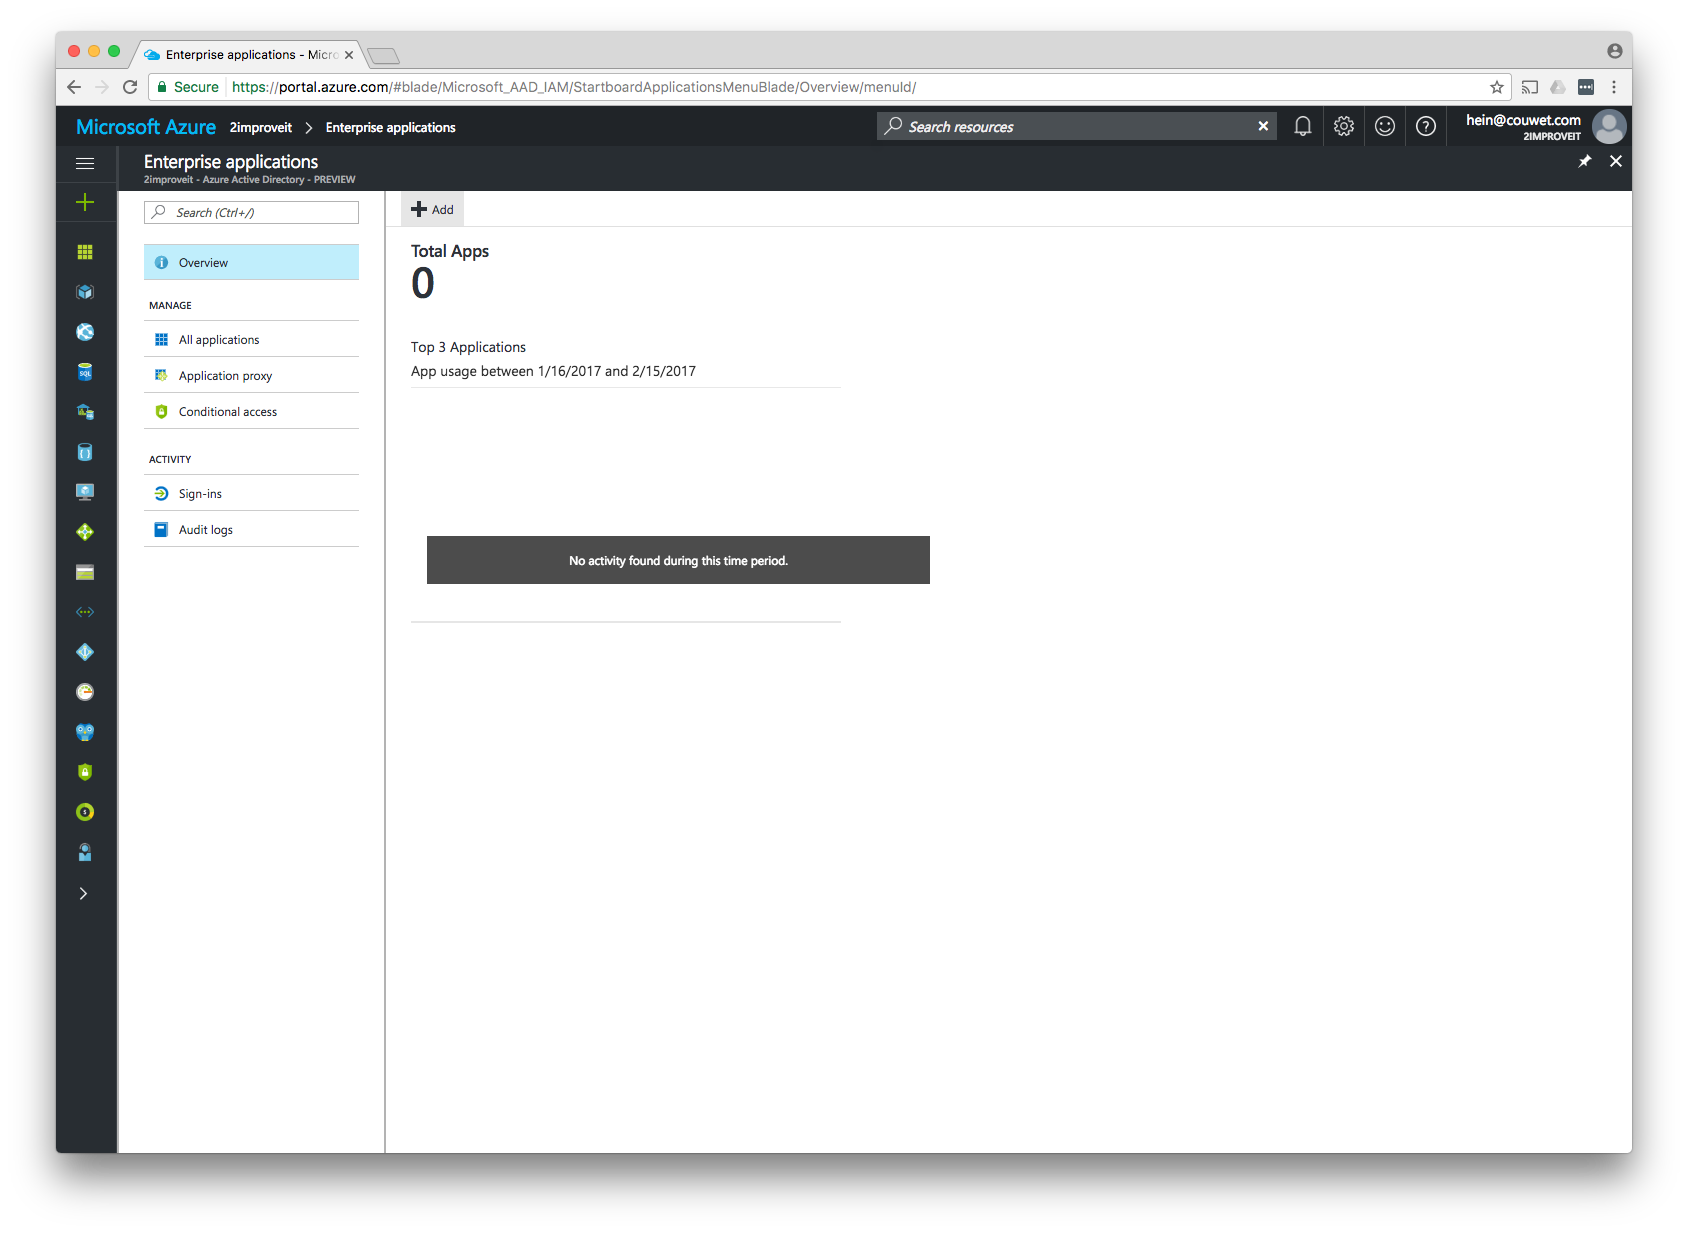
Click on Add
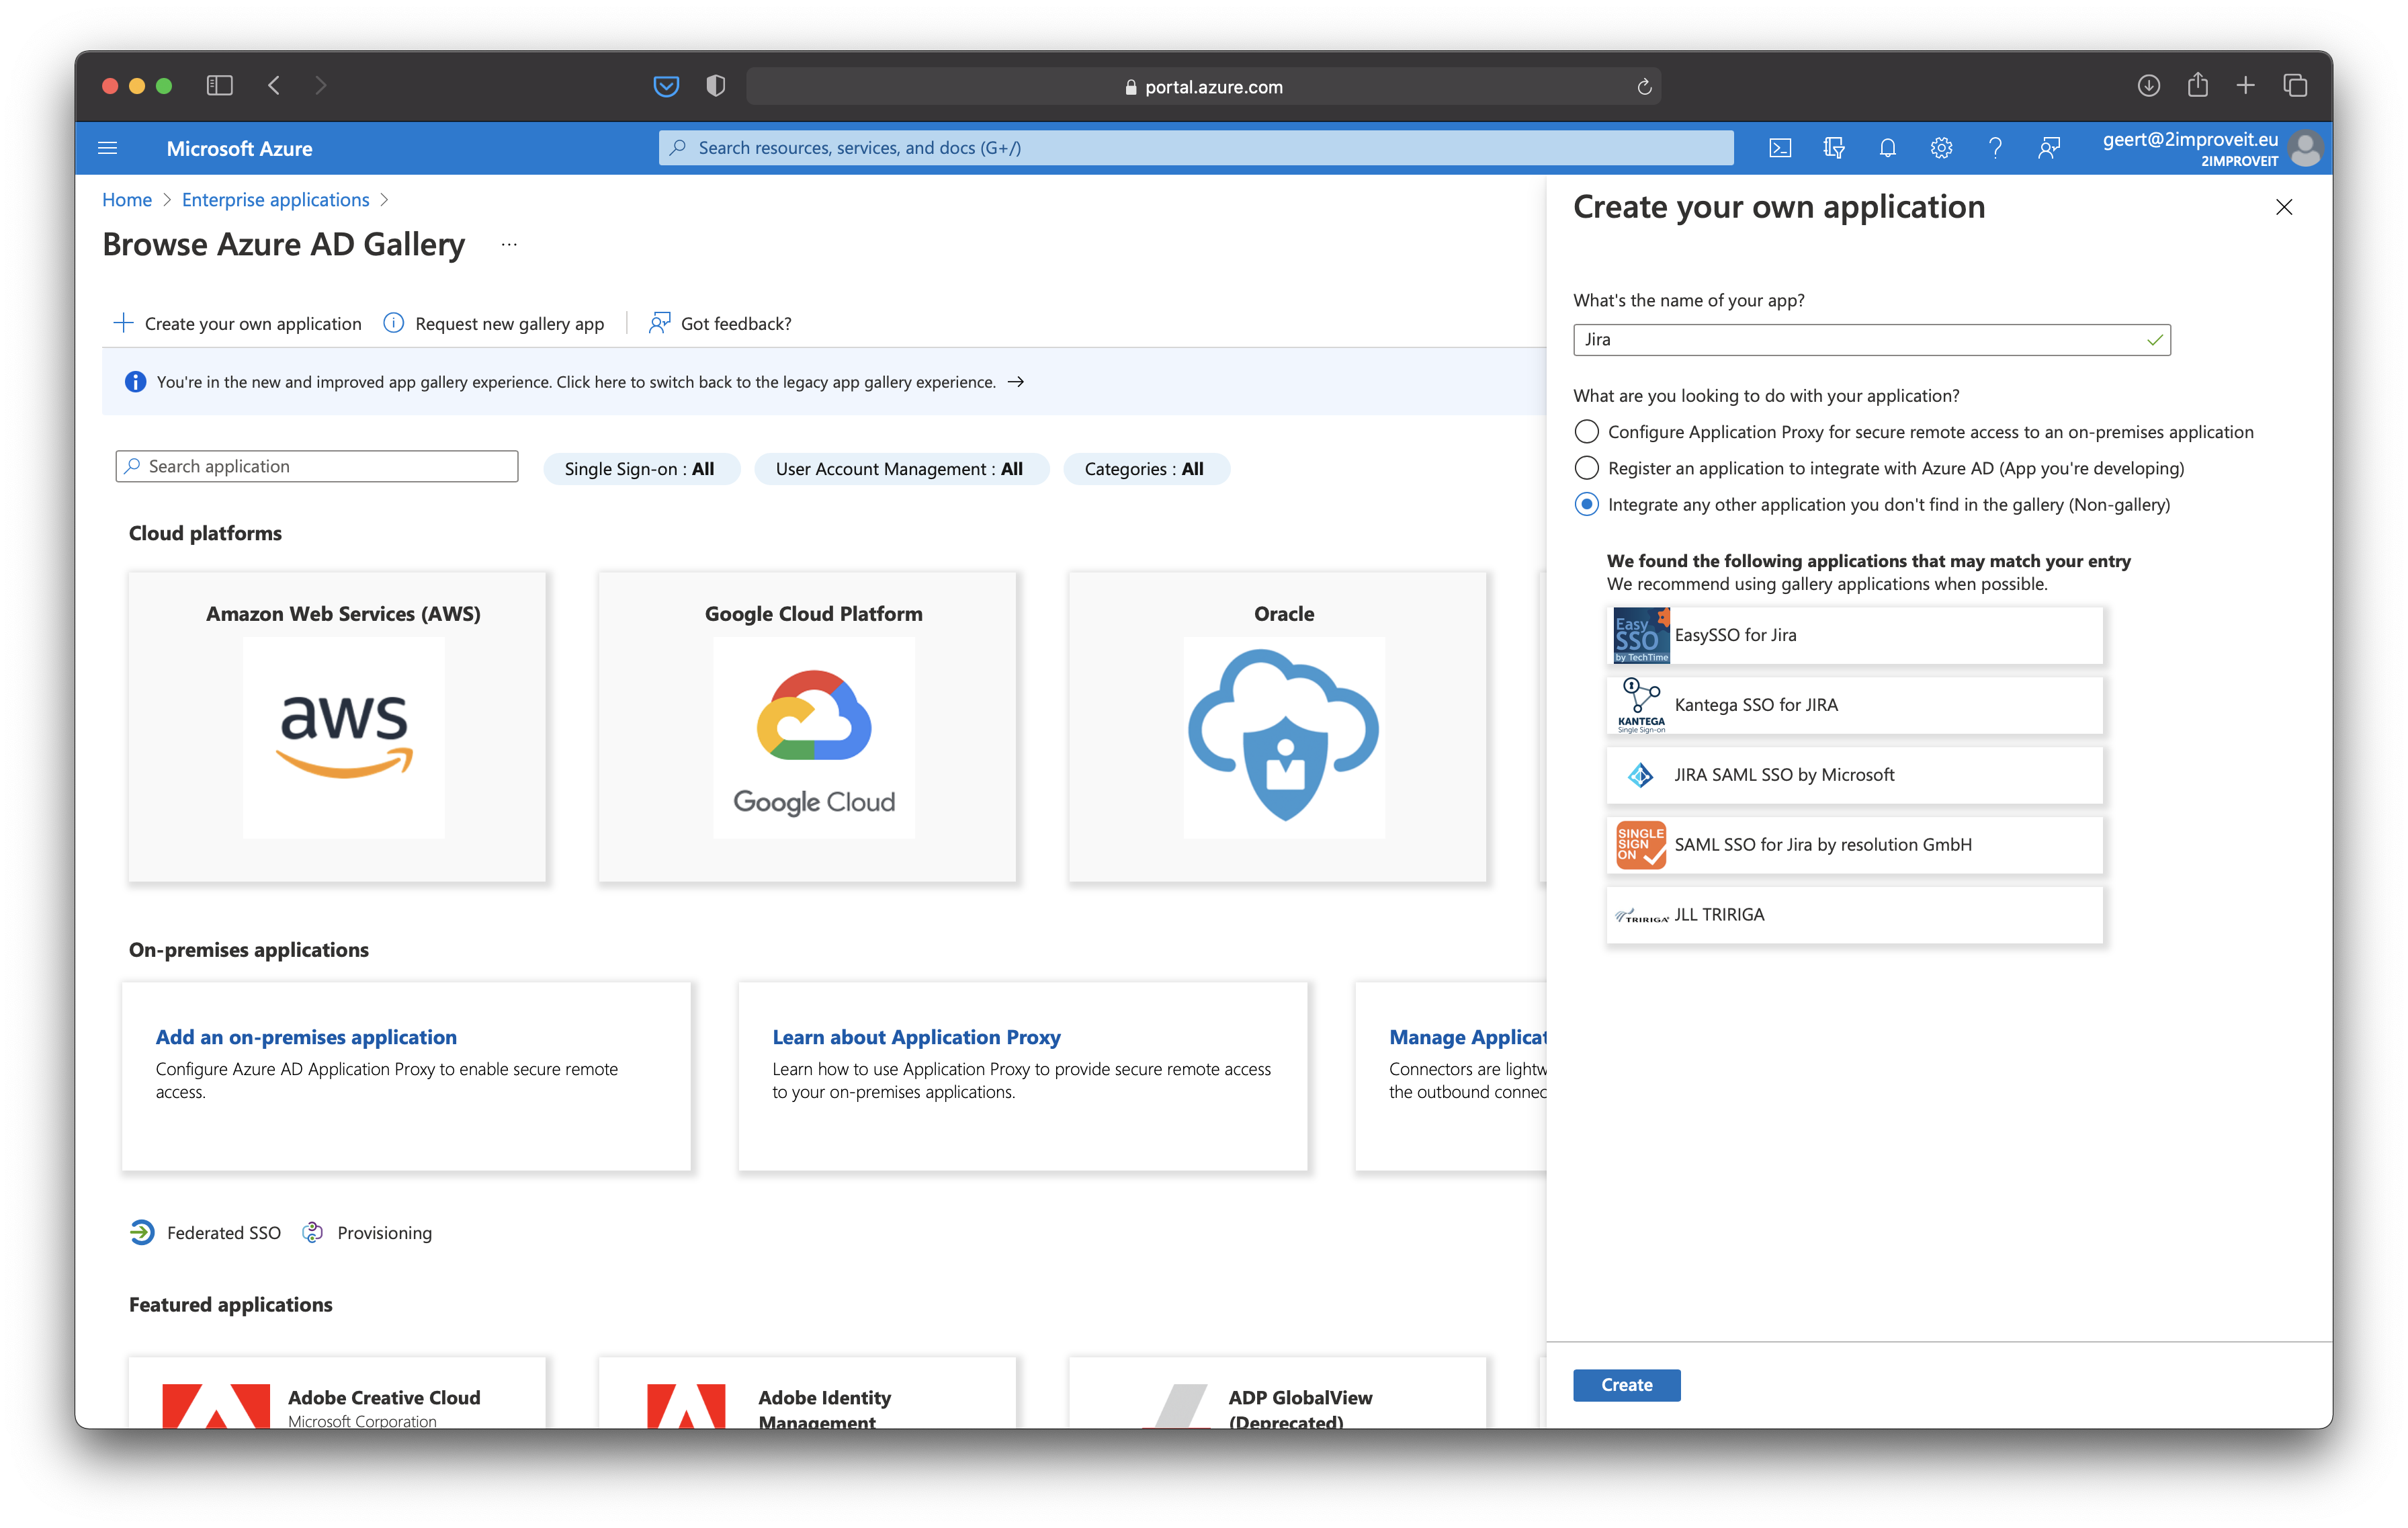
Click on Non-gallery application
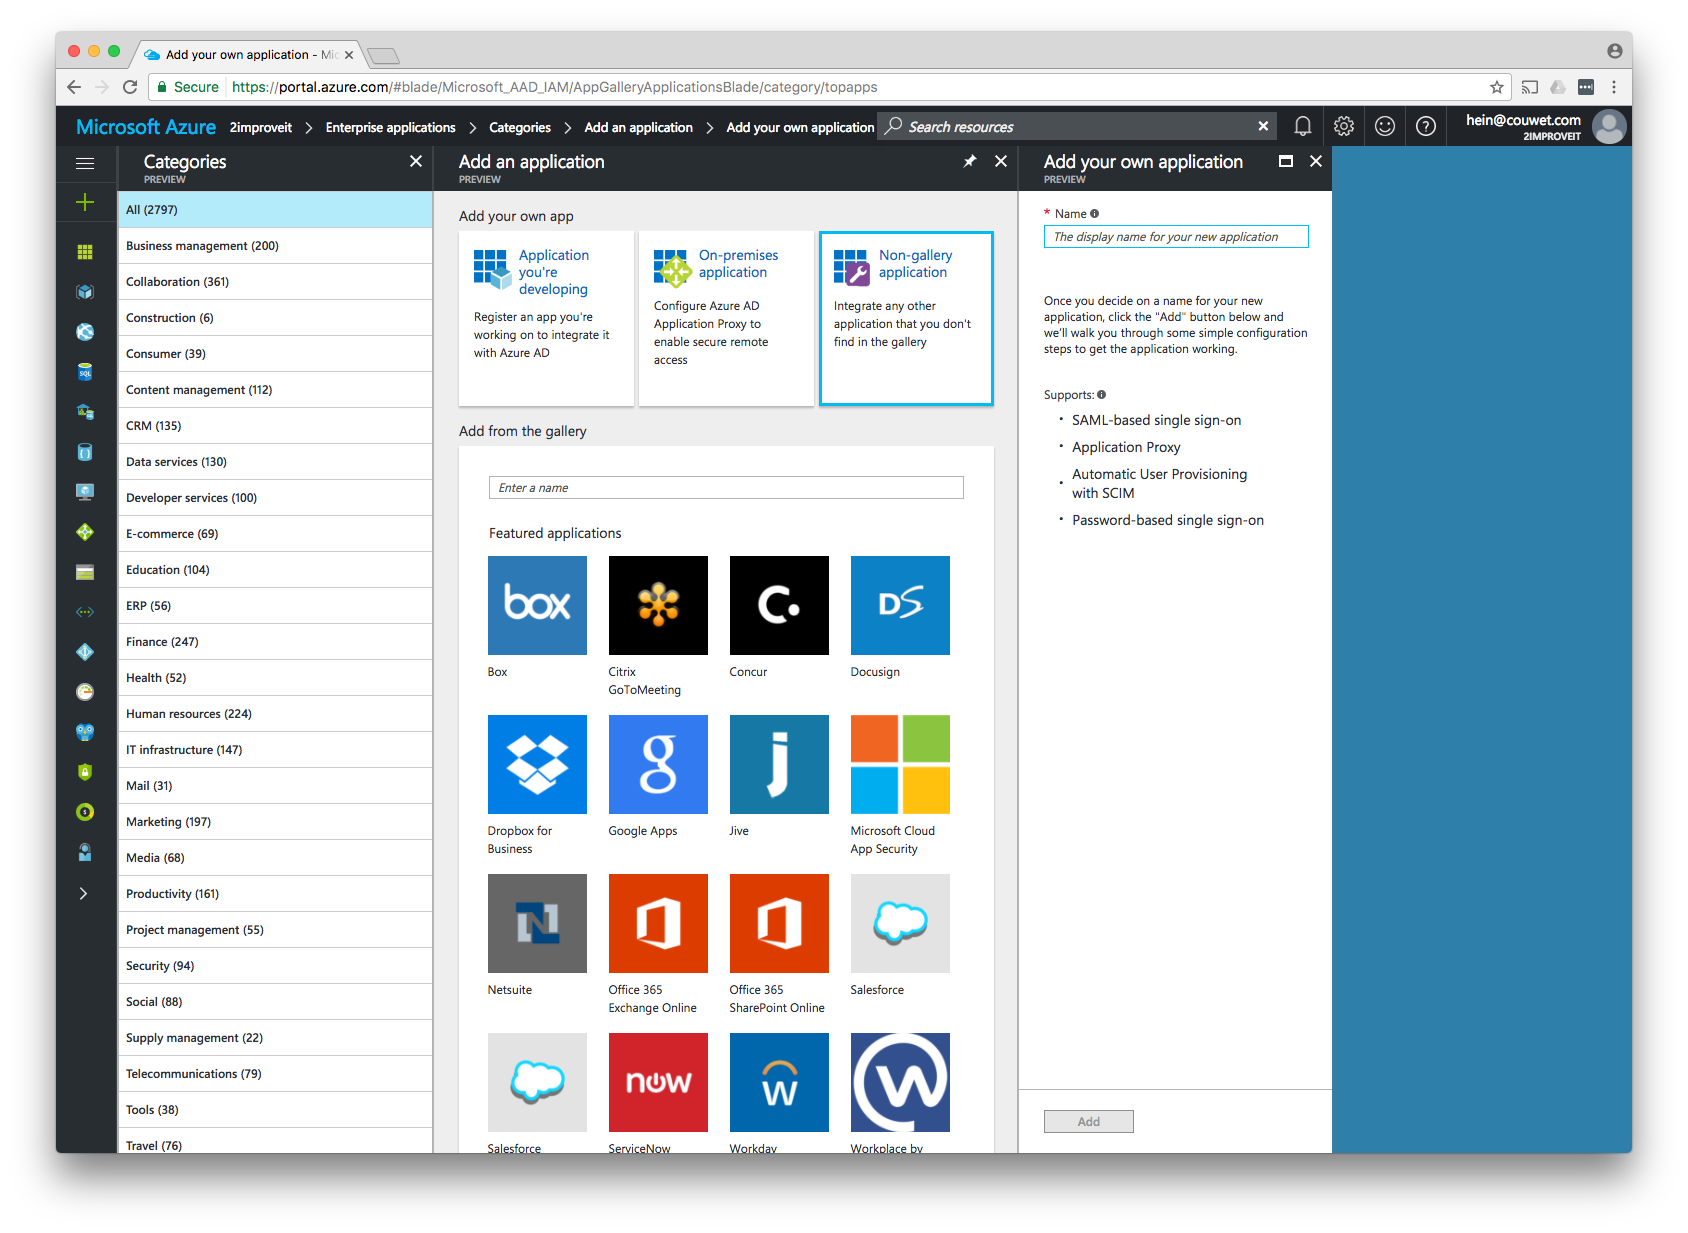
Give Your Application a meaningful name and click on Add

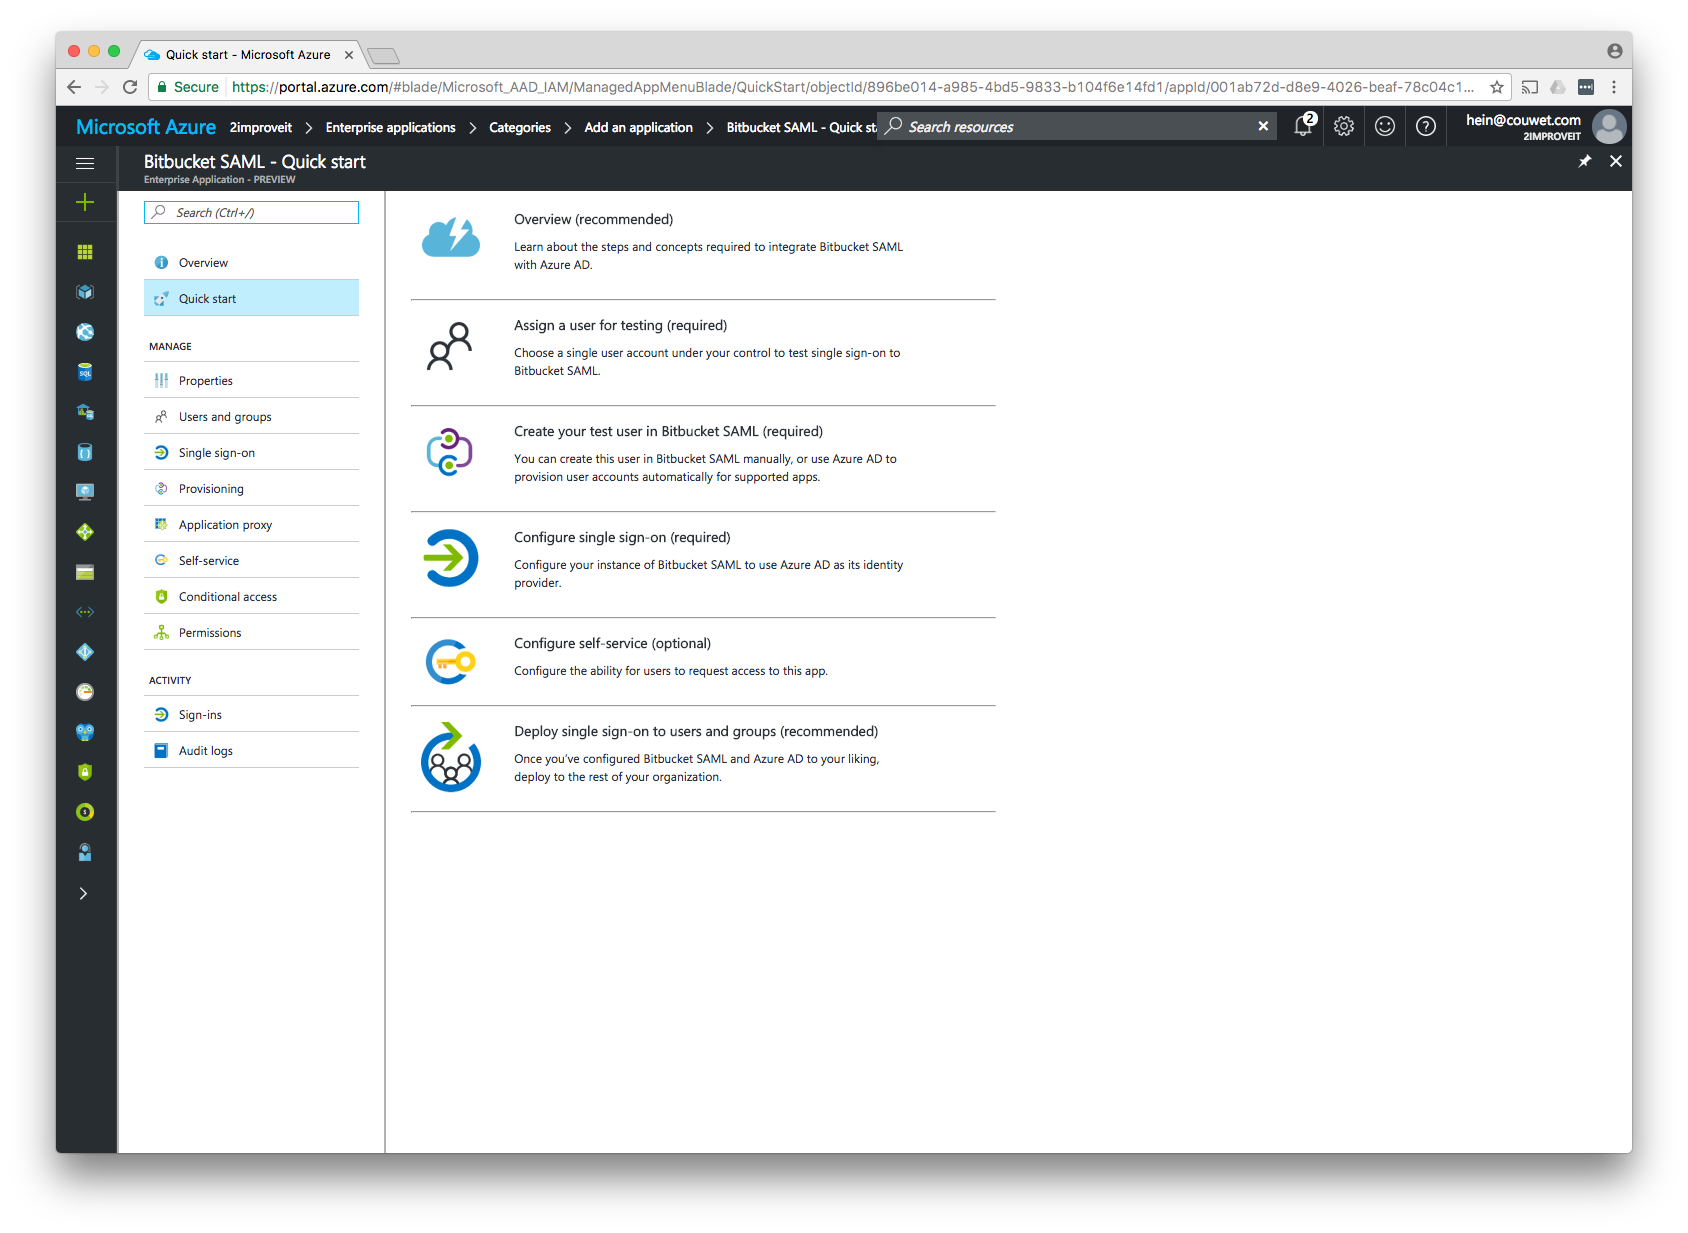
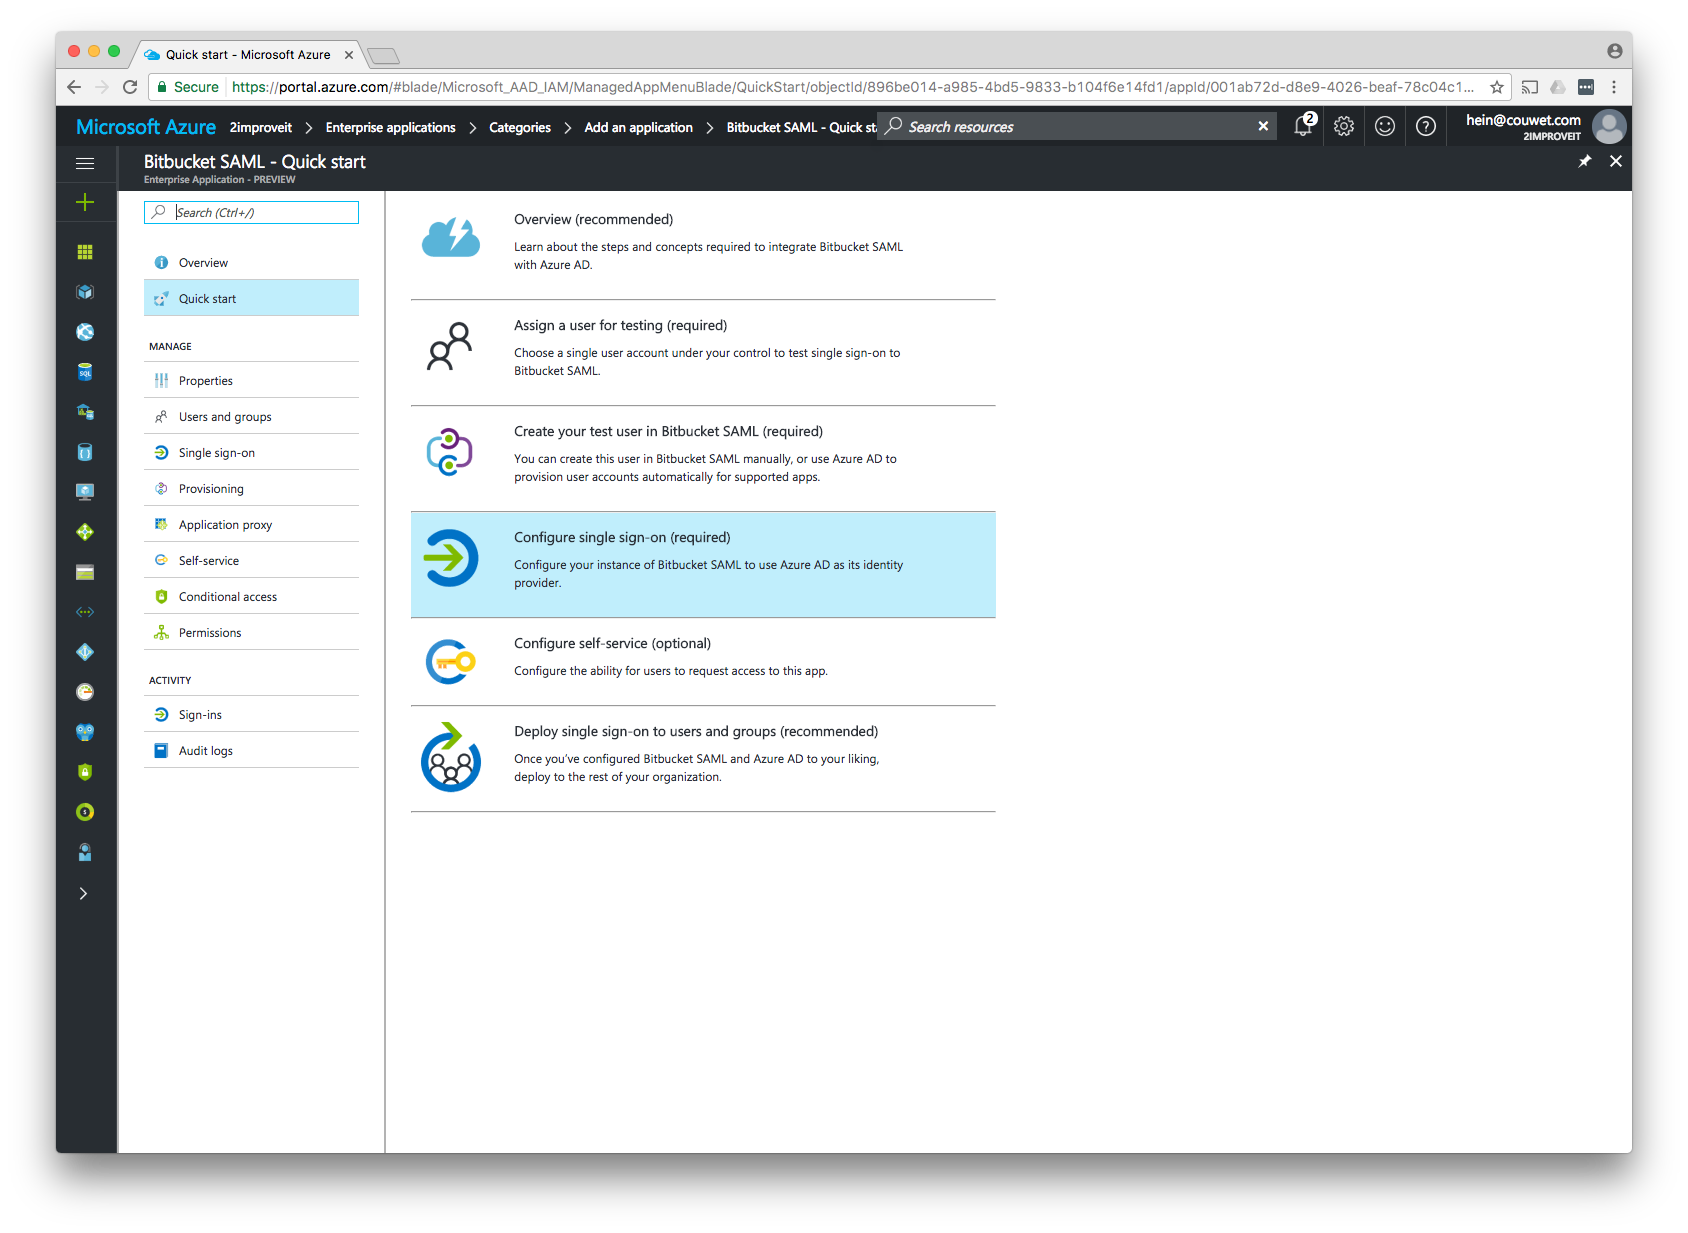
Click Configure single sign-in (required)
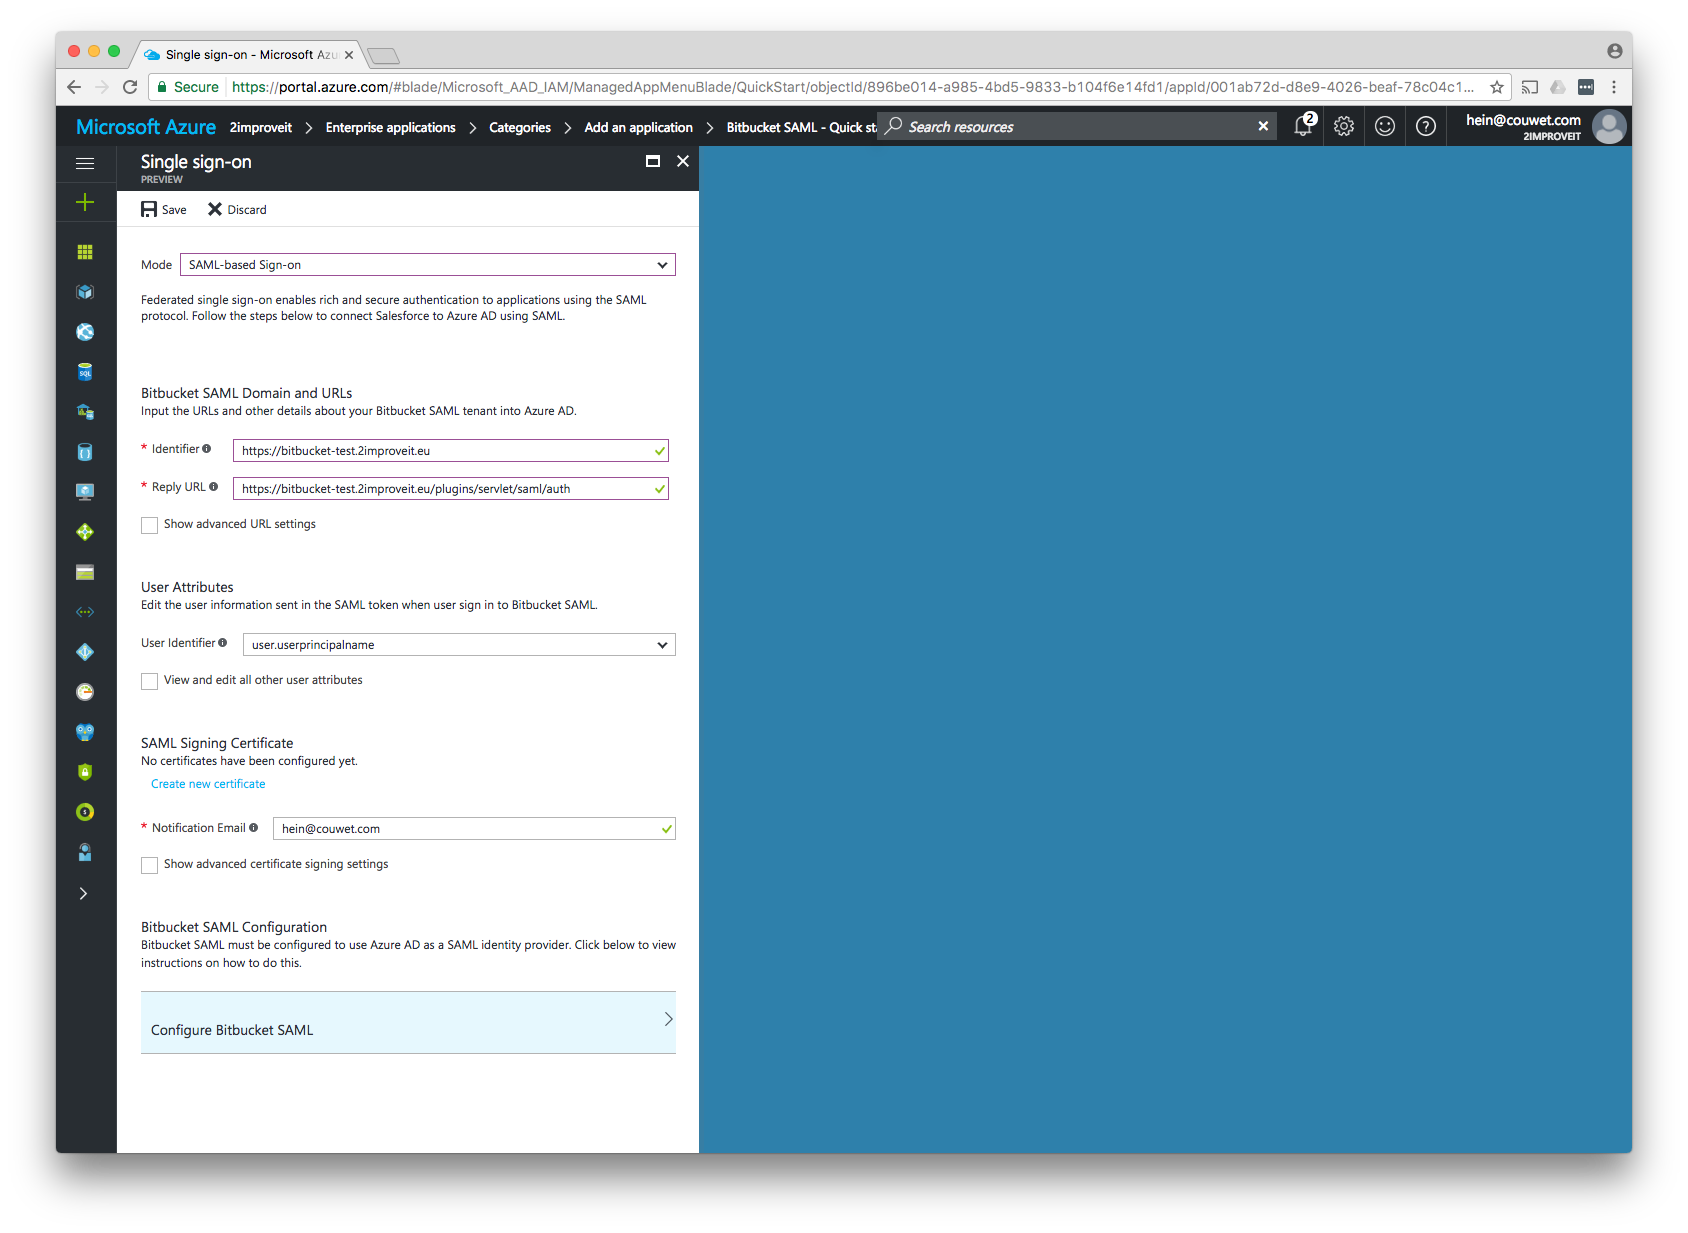
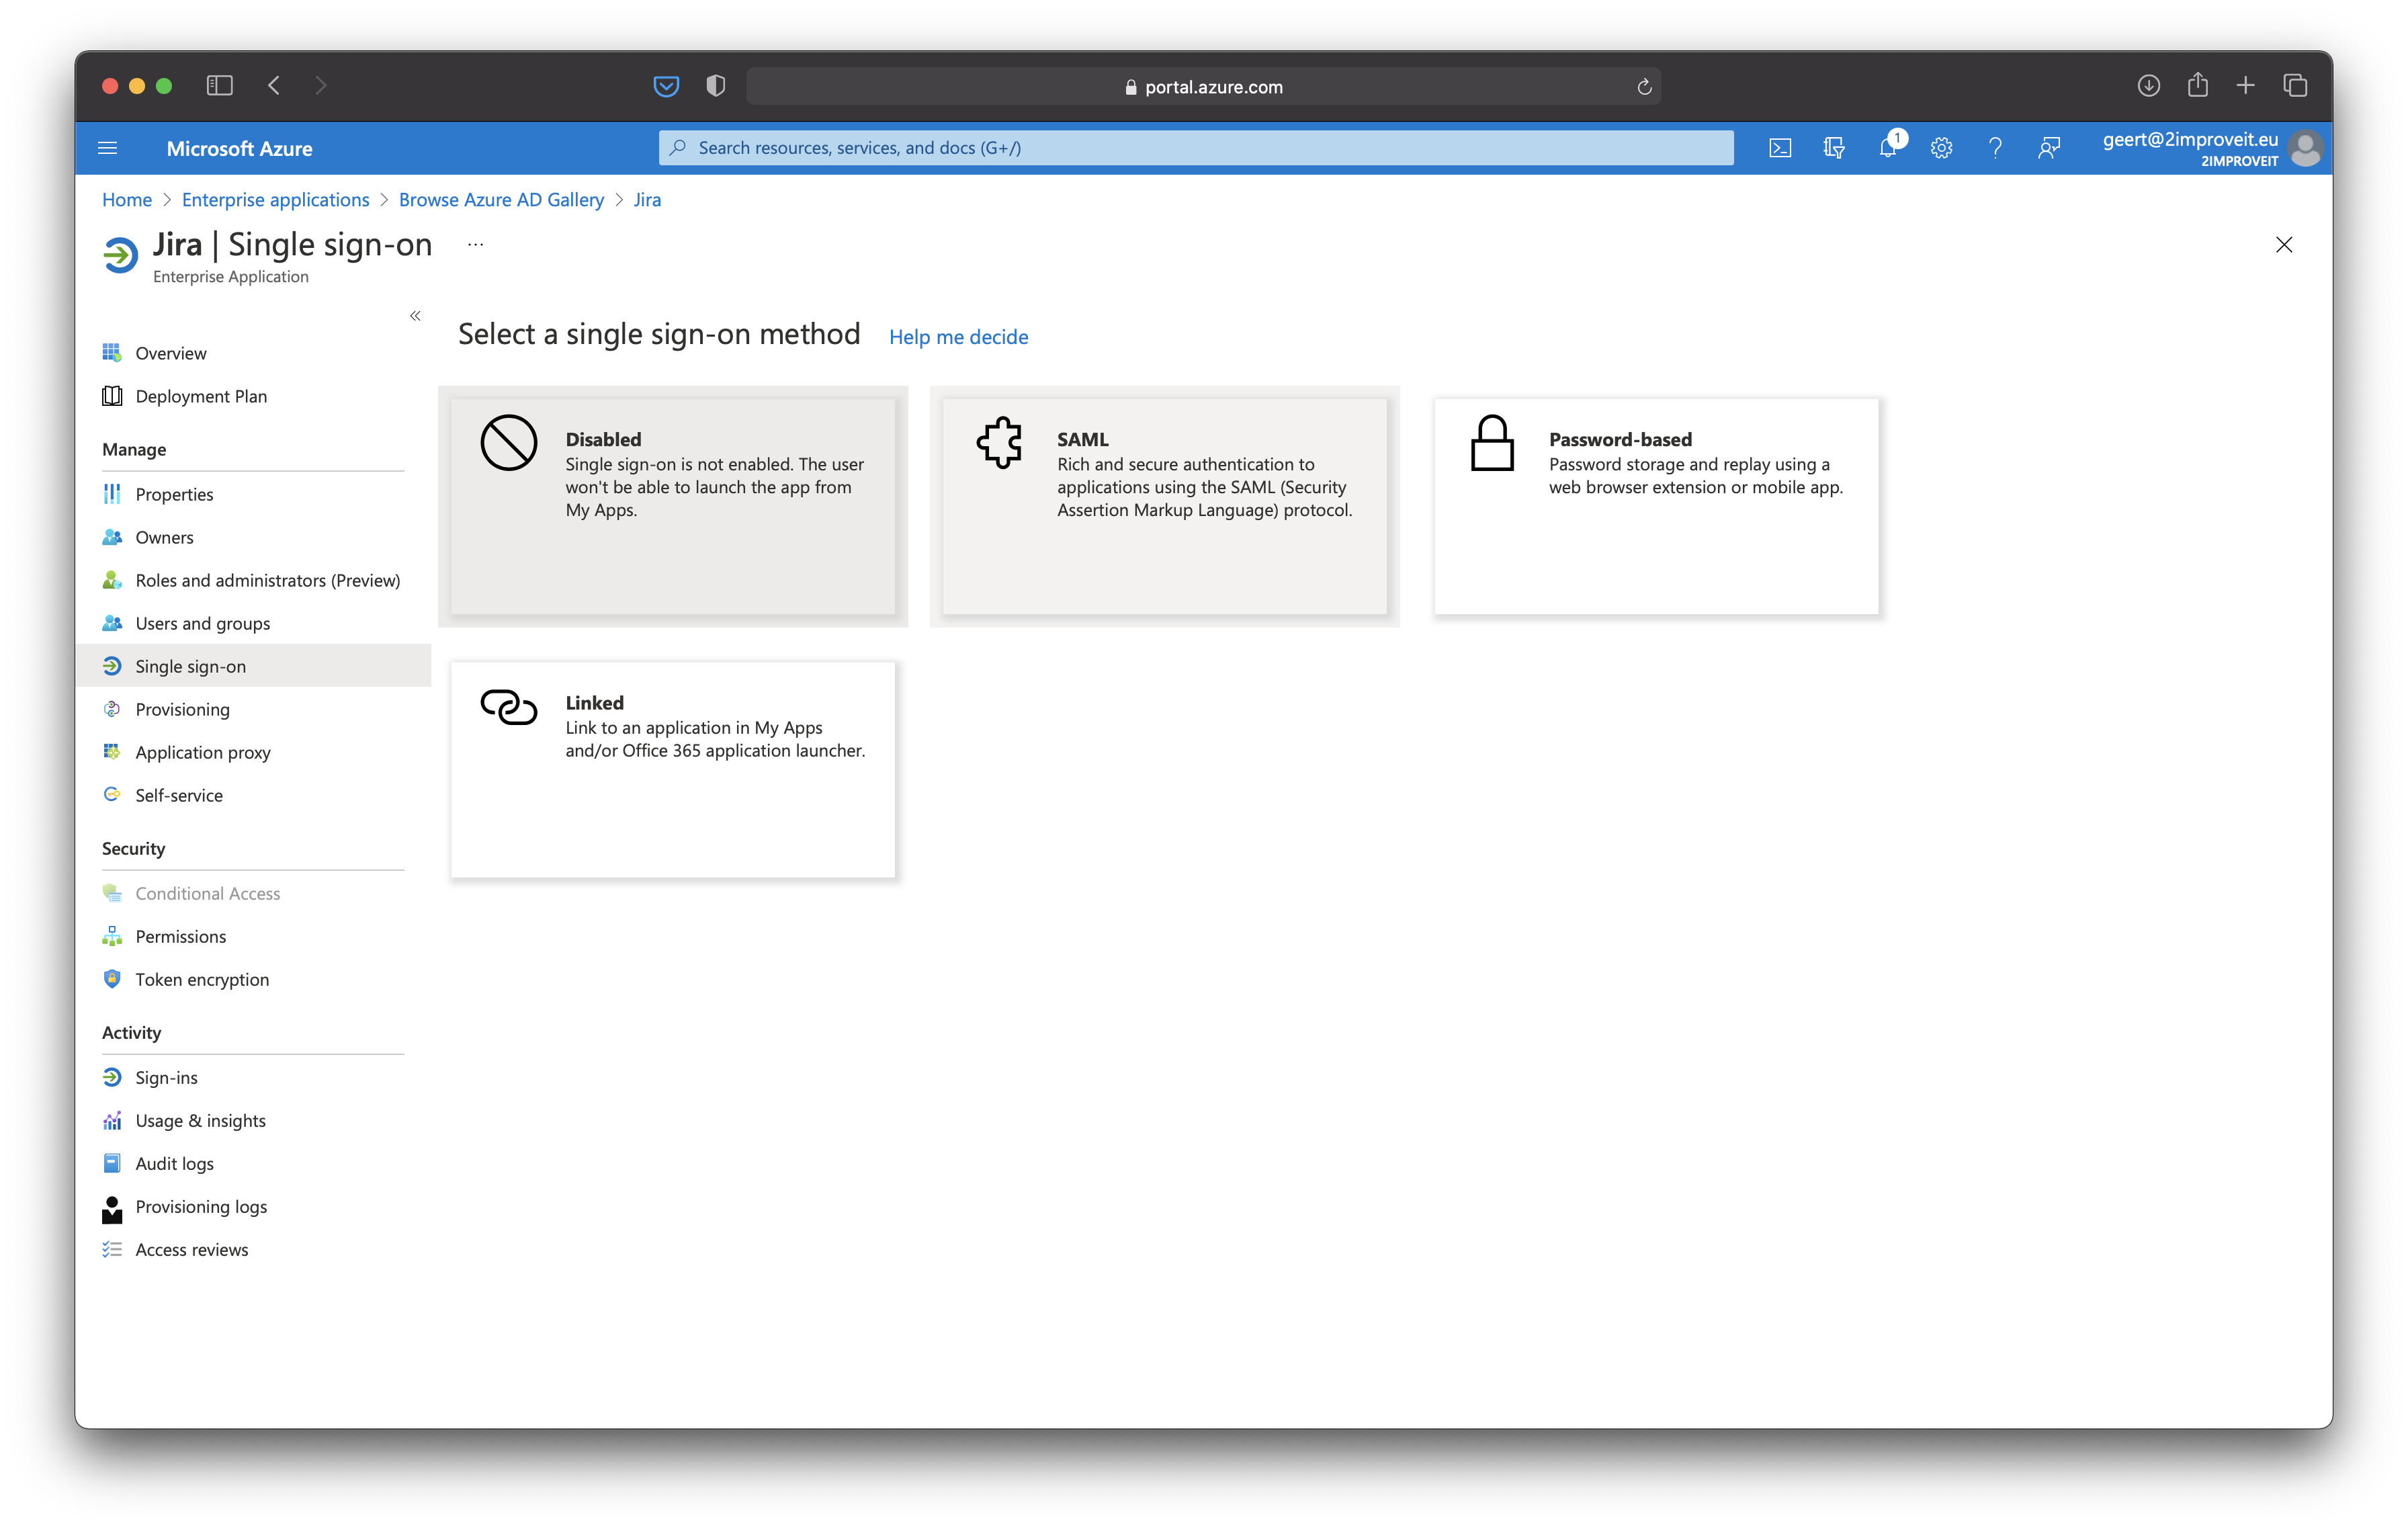
Select SAML-based Sign-on as Mode
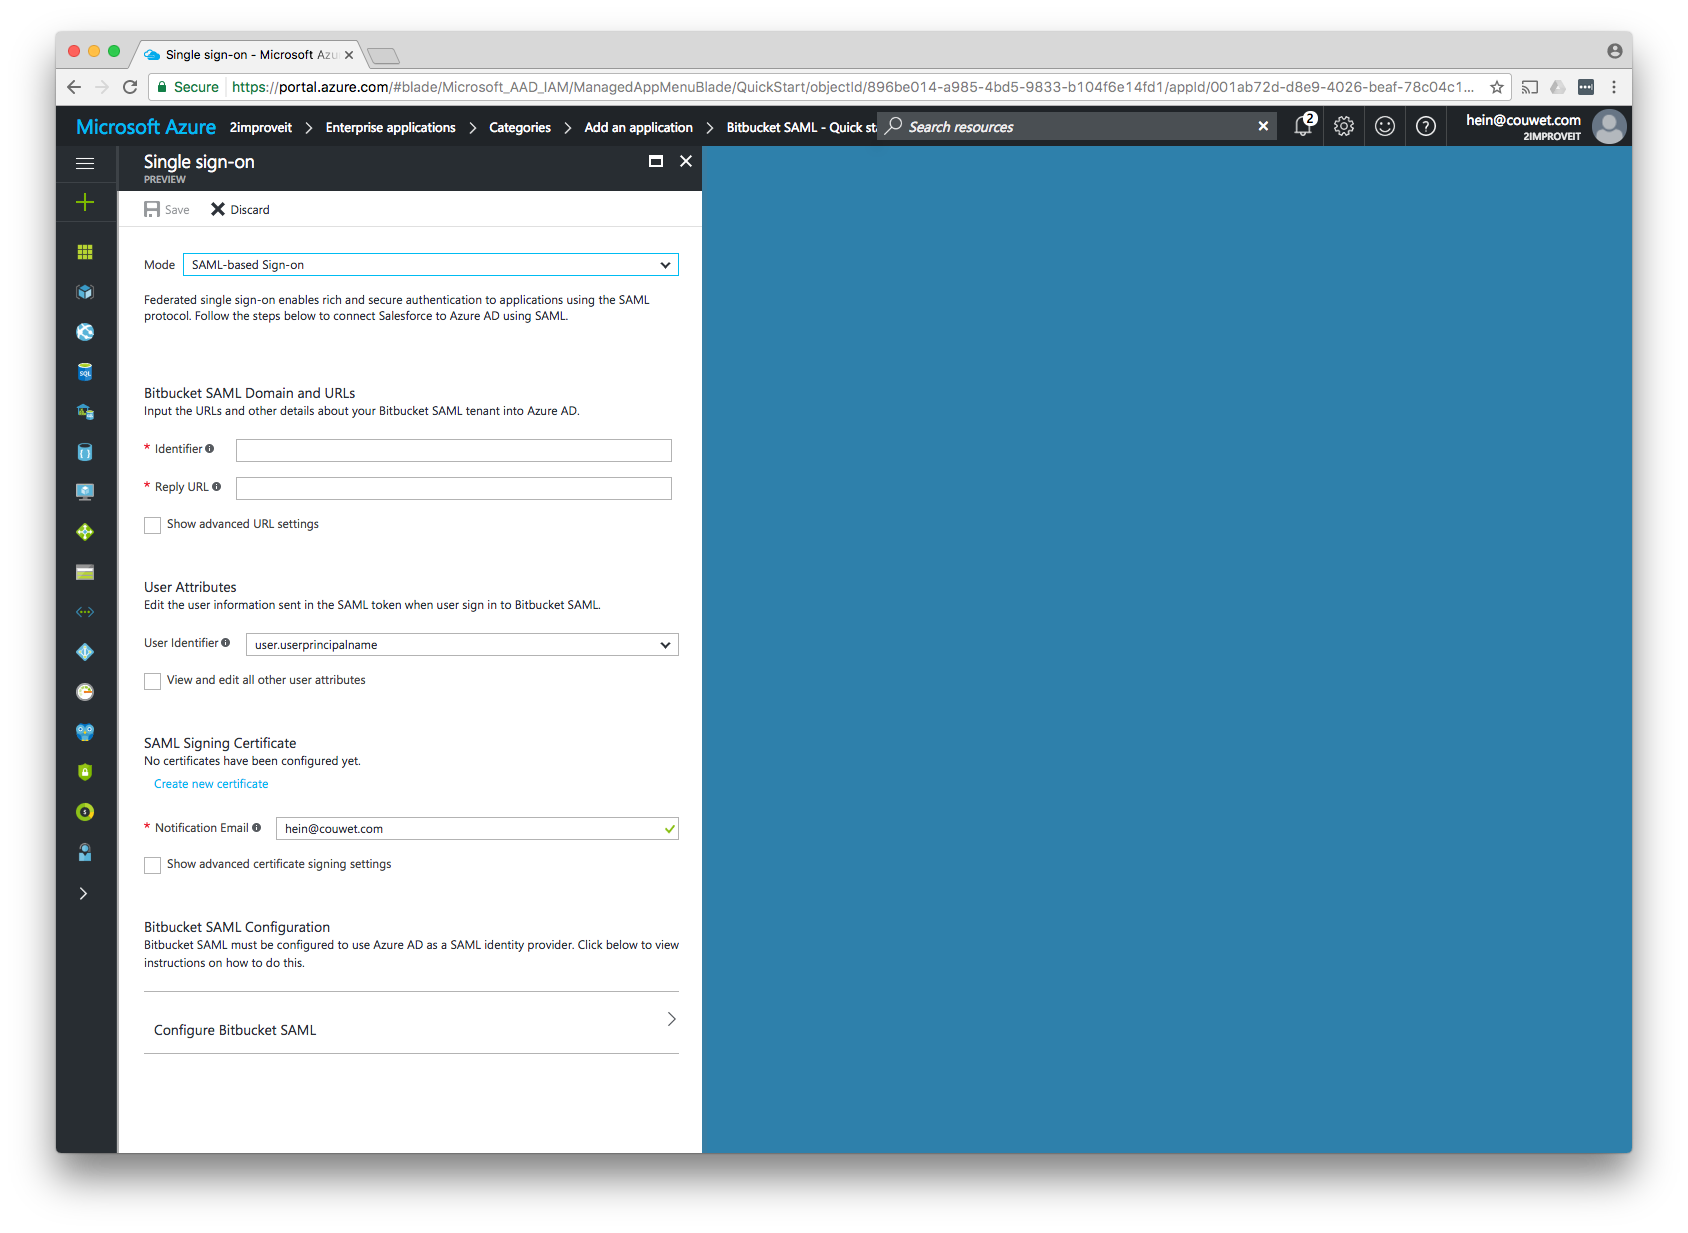
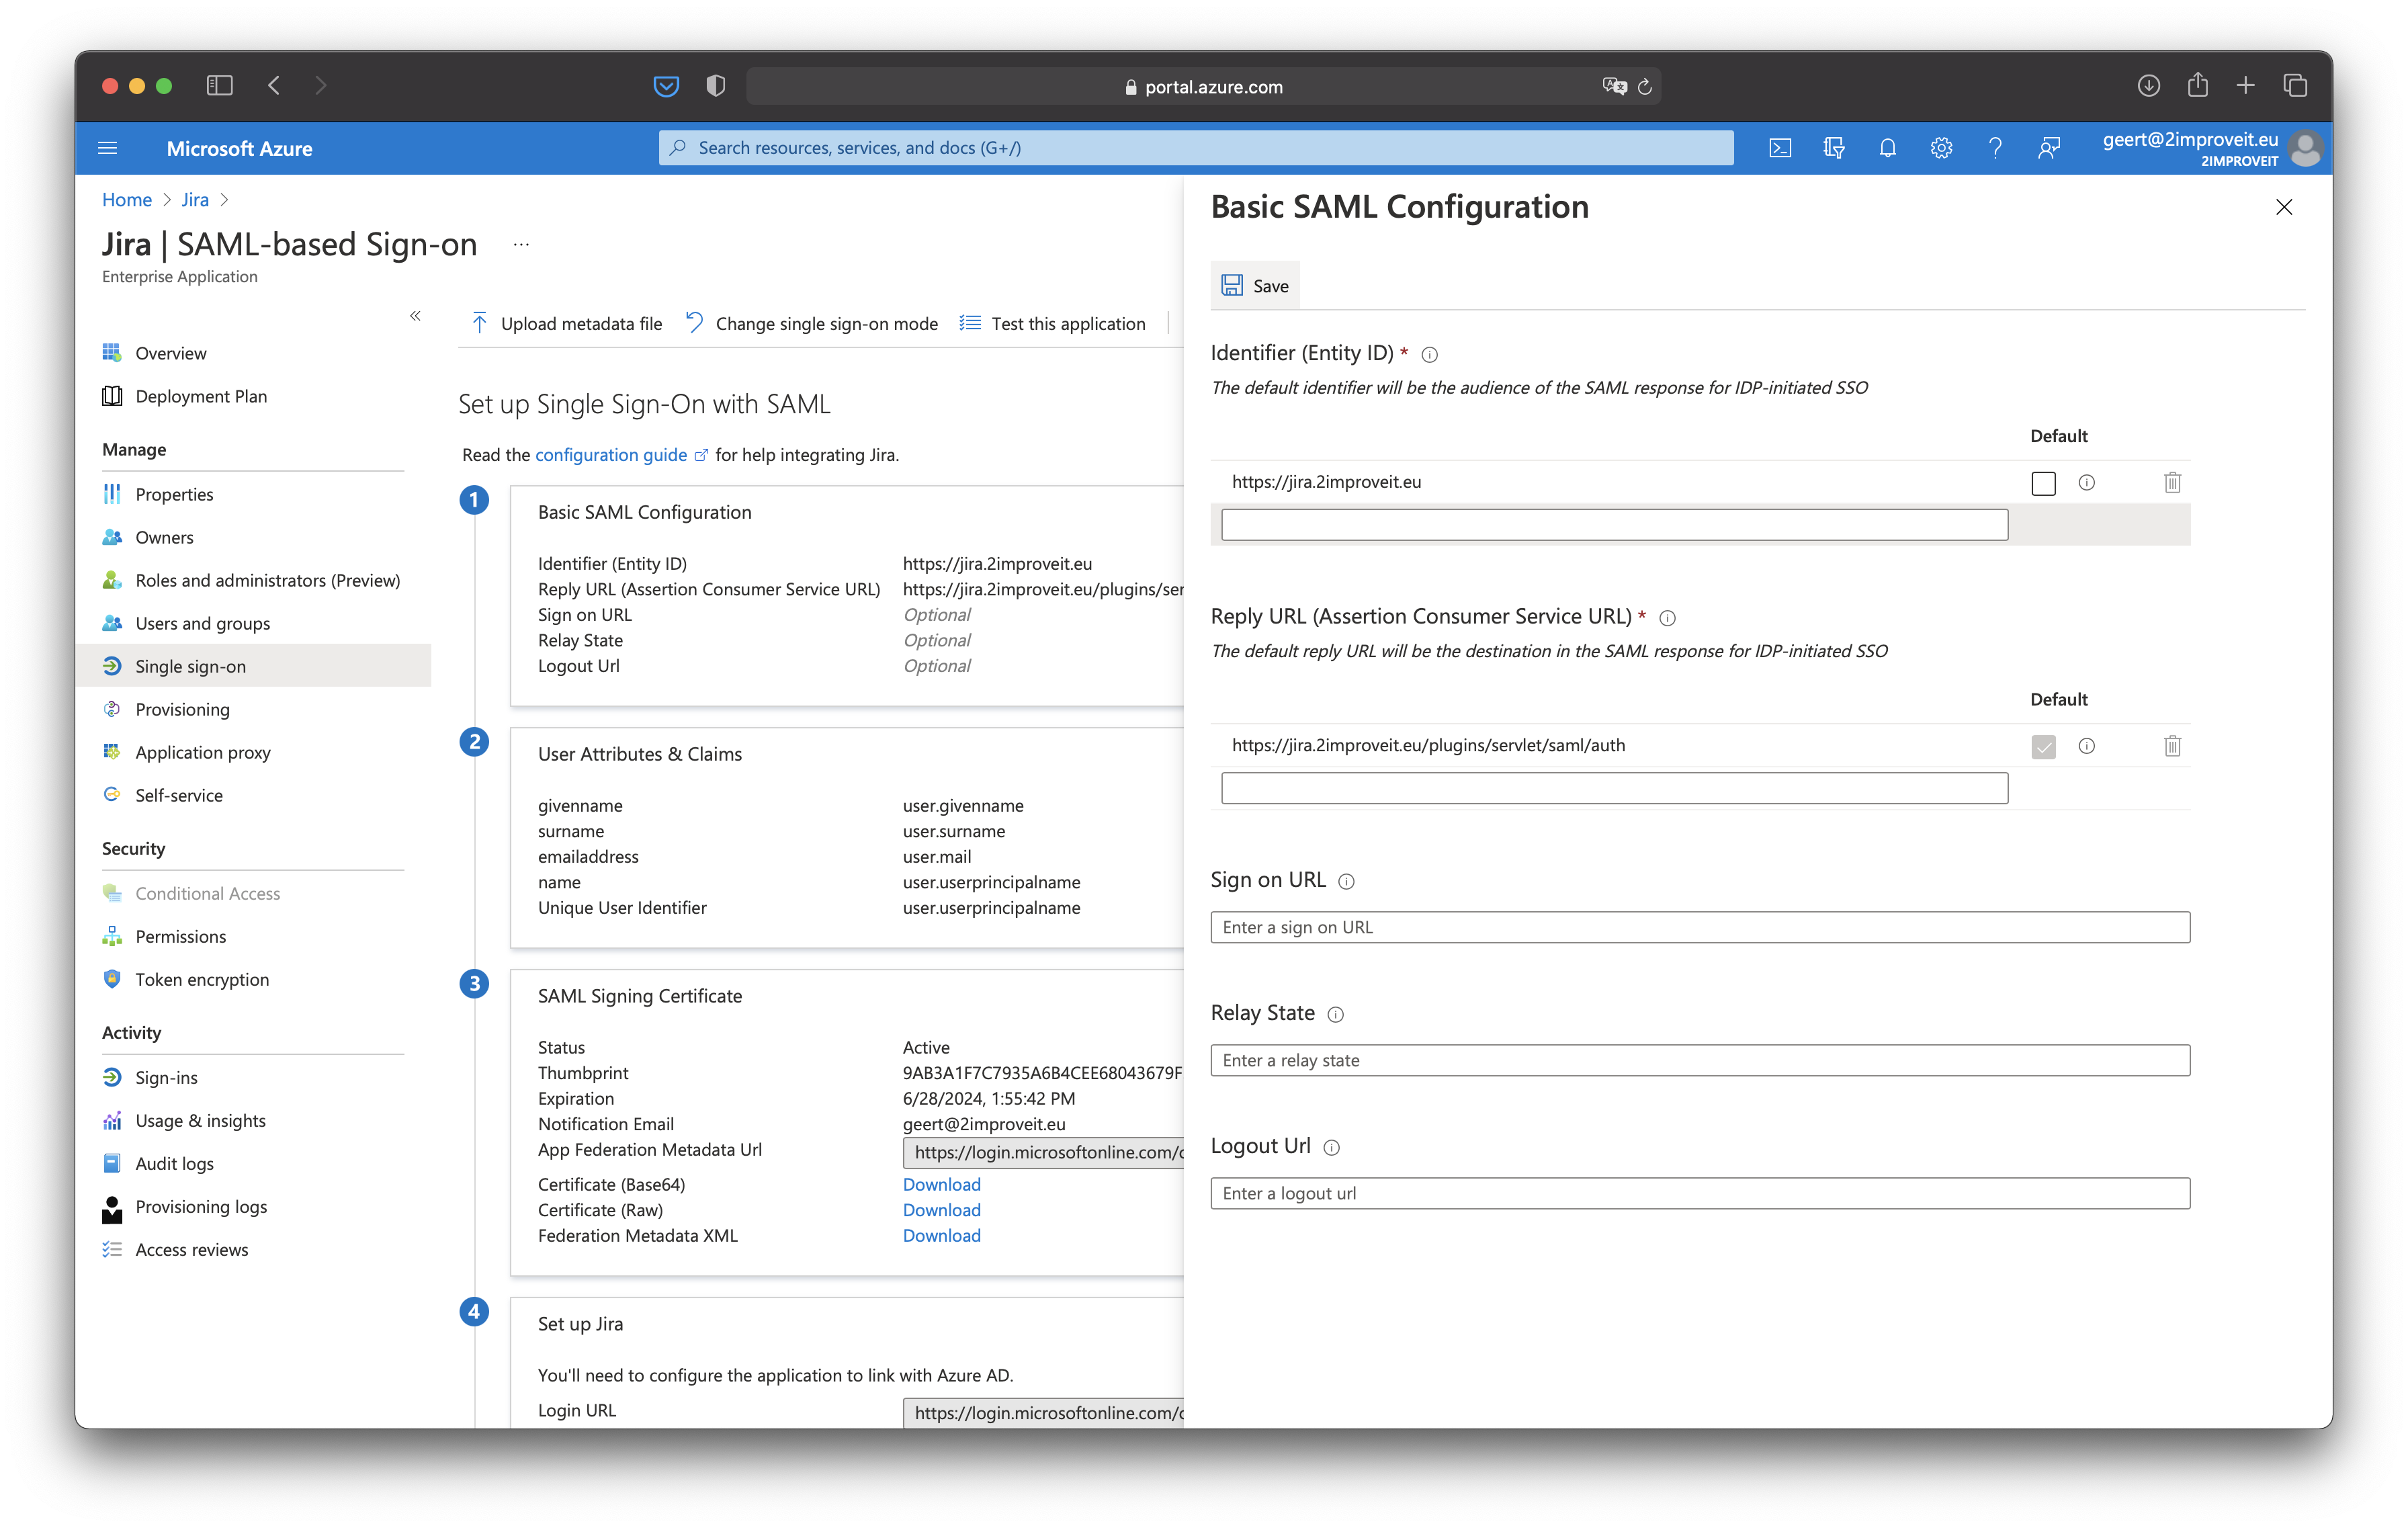
Fill in the baseUrl of your application as Identifier and the <baseUrl>/plugins/servlet/saml/auth as Reply URL
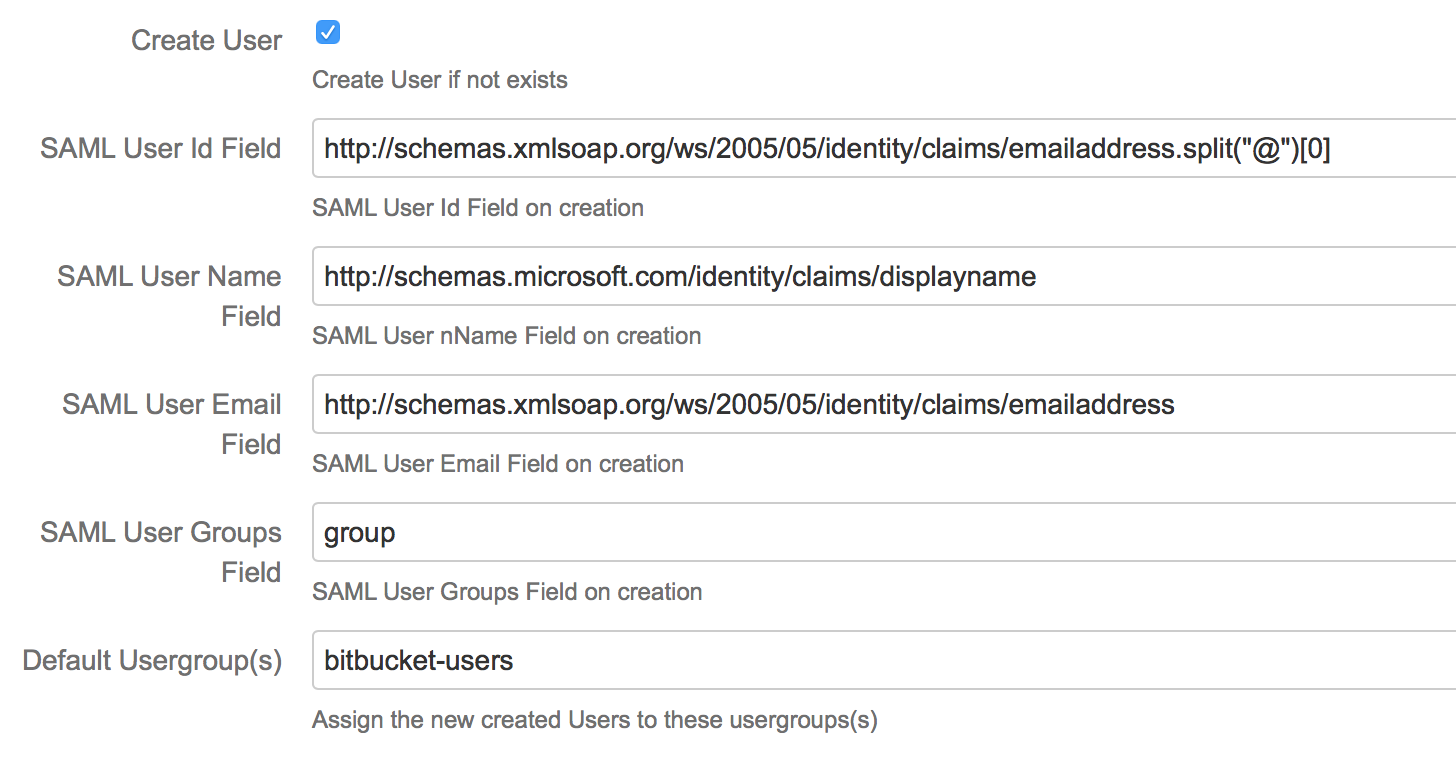
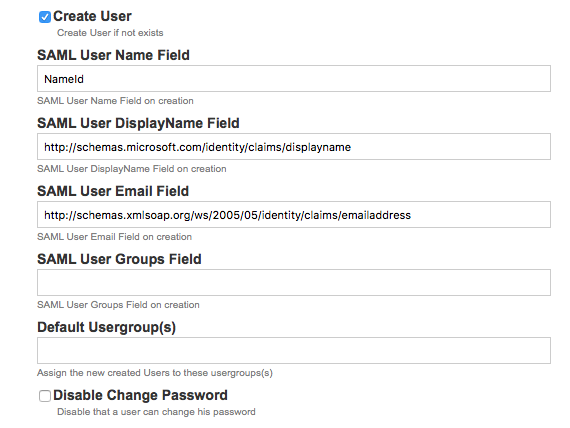
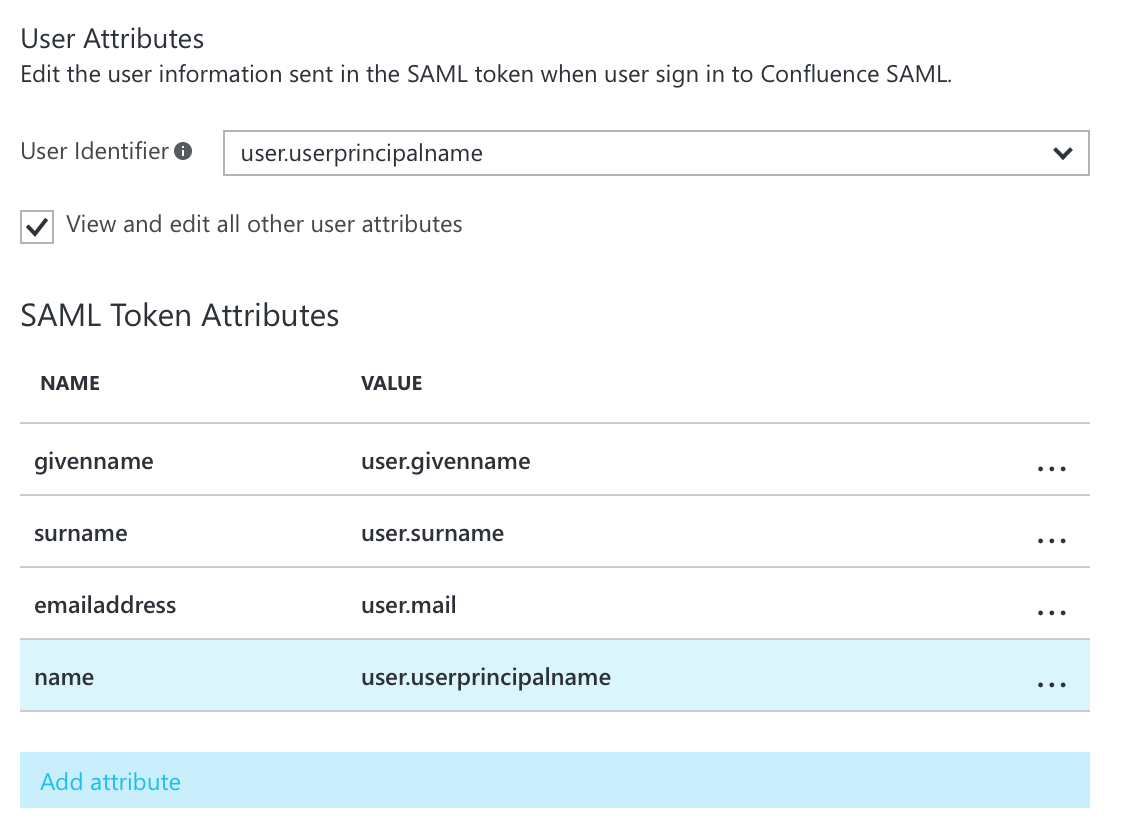
Here you can also specify the user attributes you want in the SAML Response if you want to create the user
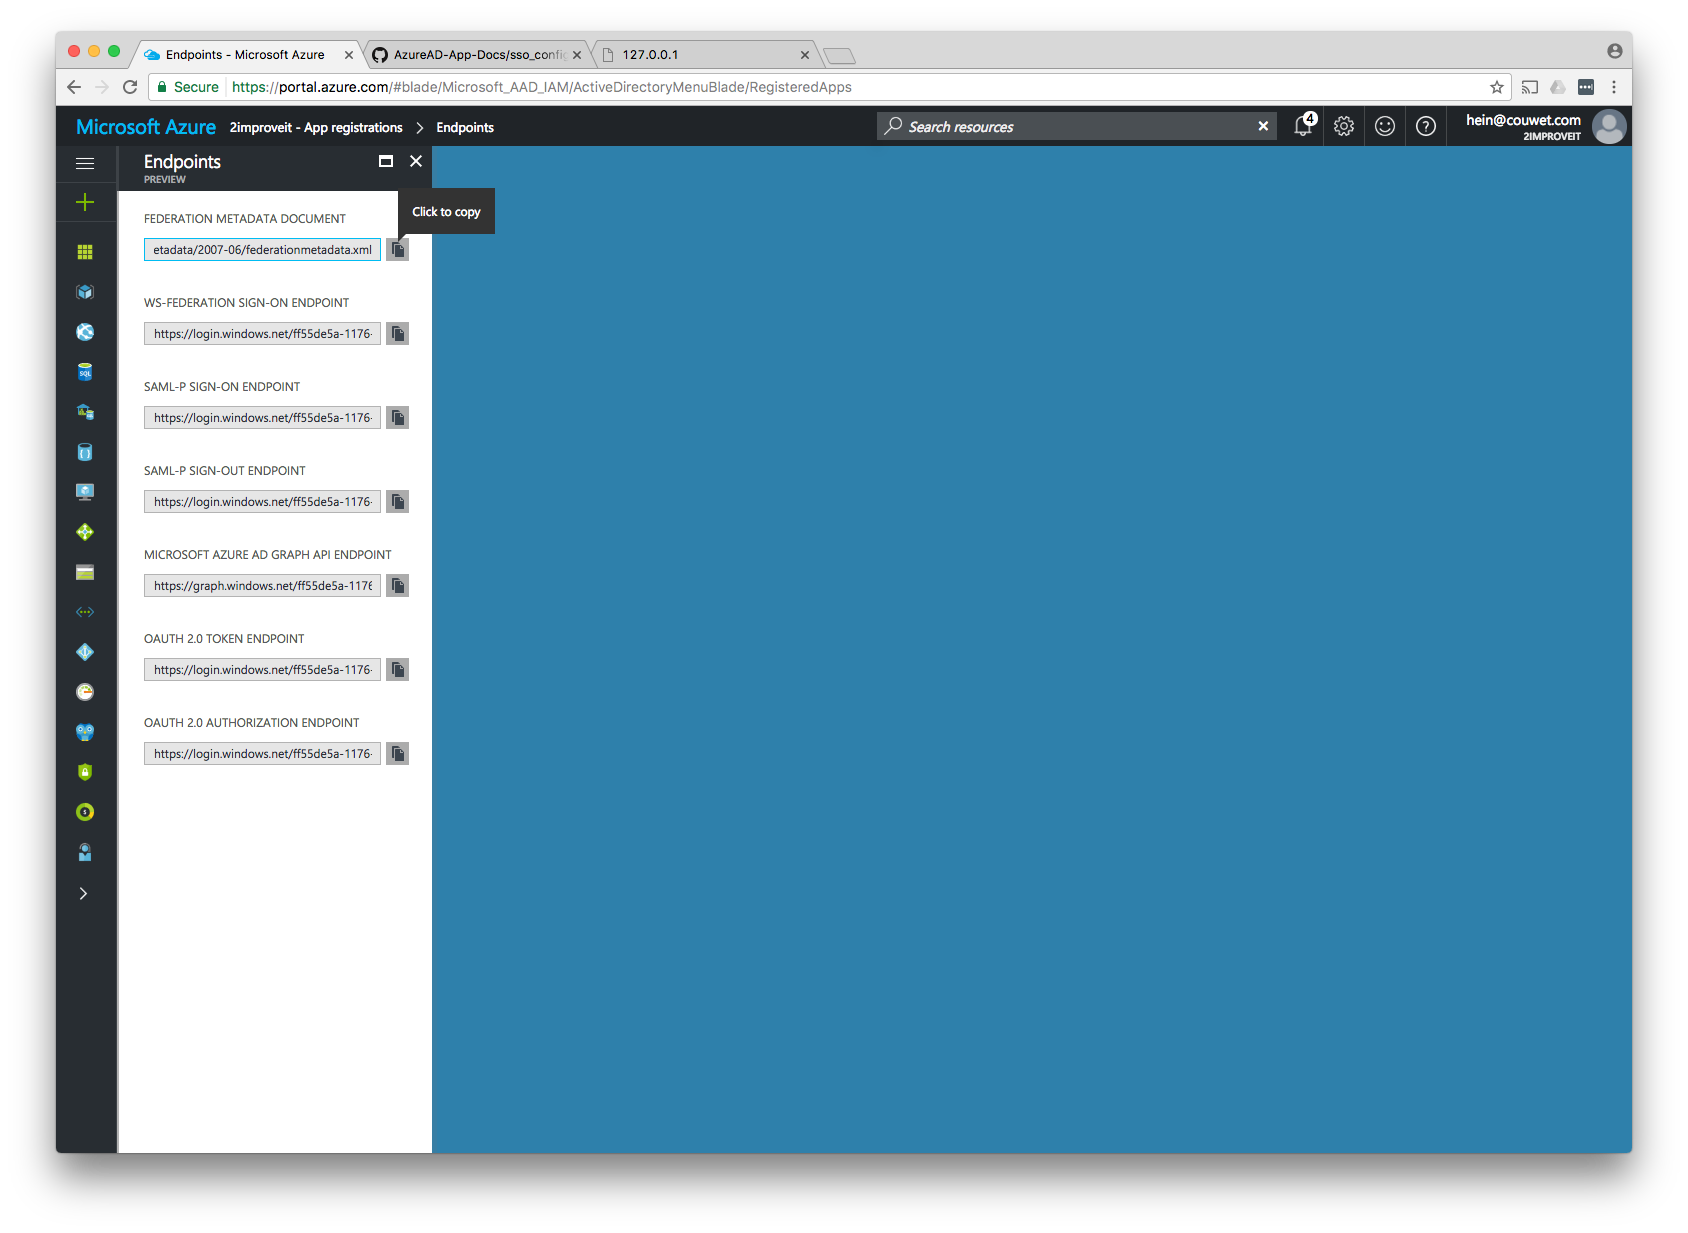
Click on Configure and Click on Endpoints
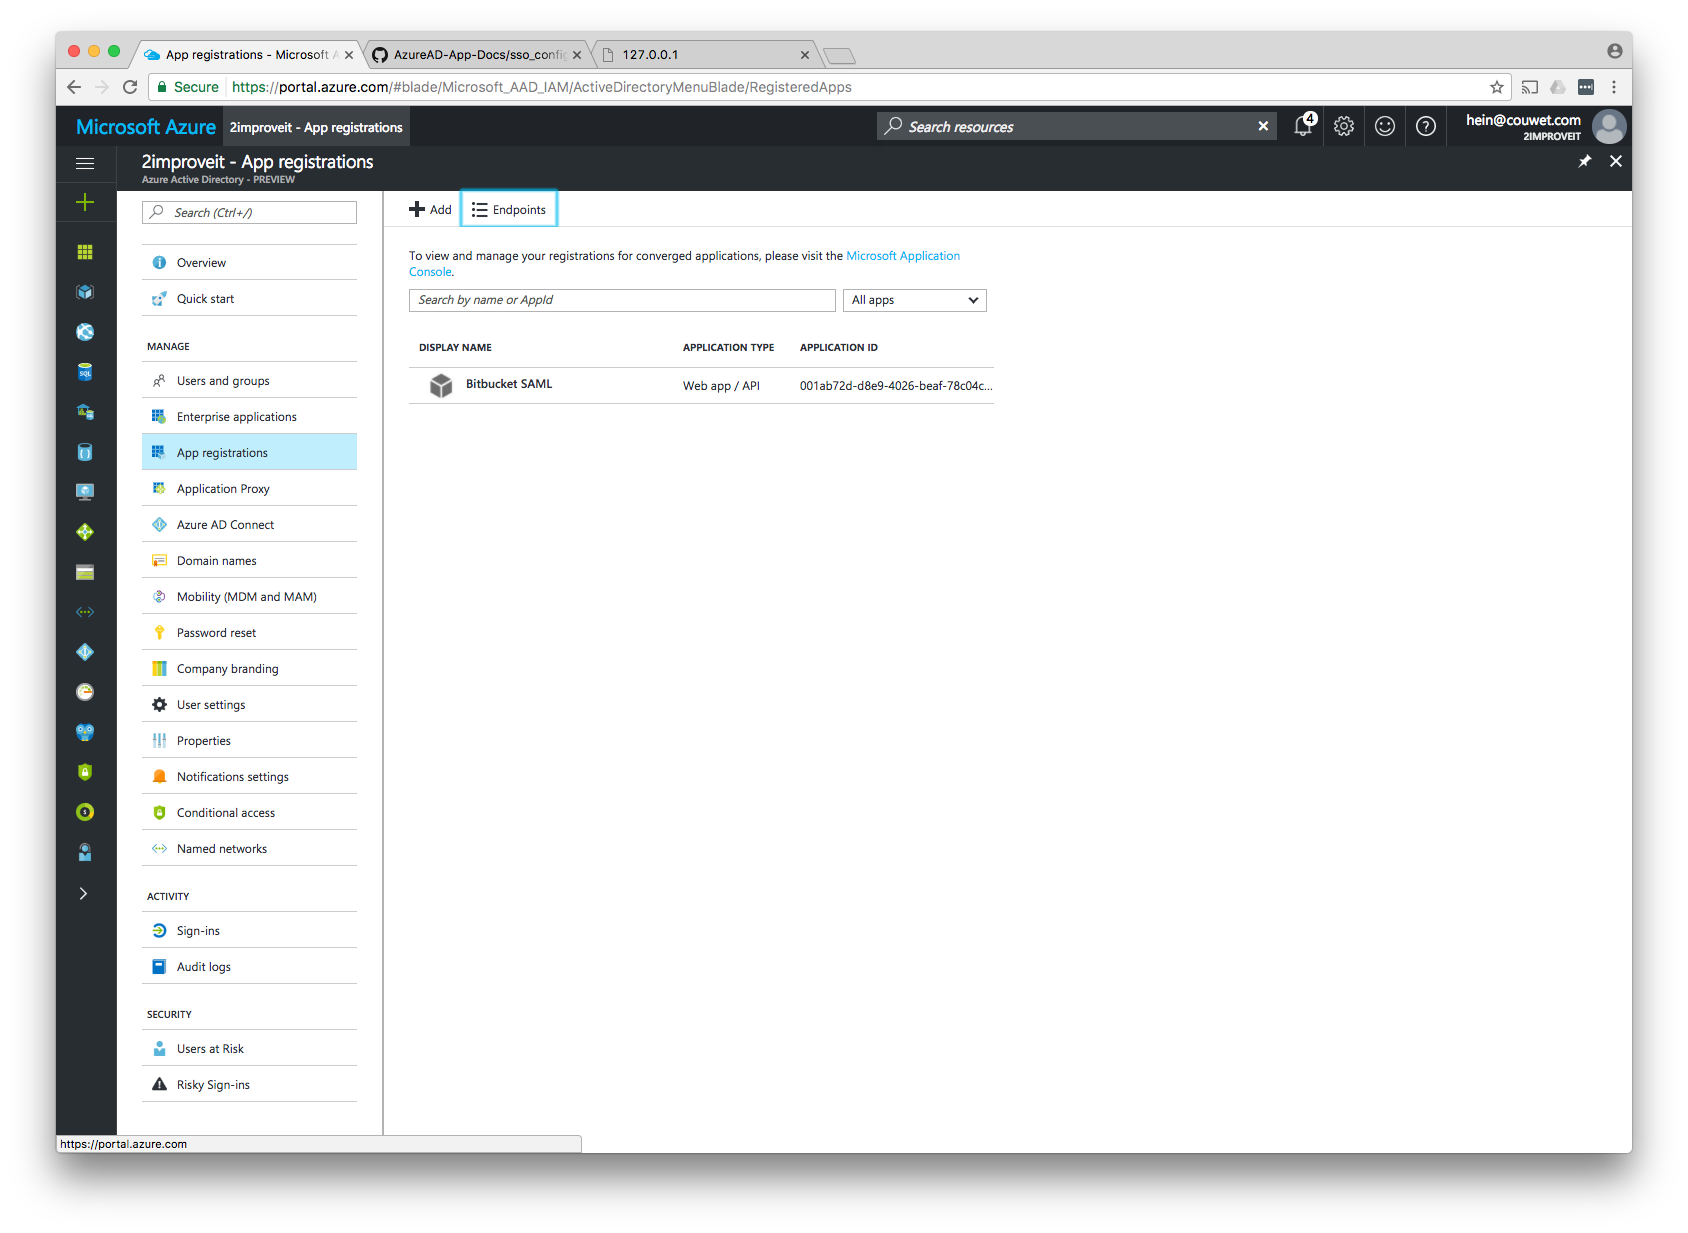
Click on the copy icon next to Federation Metadata Document to download the IdP XML you need to fill in on the Configure Plugin in the Atlassian Application
and goto "Enterprise Applications"
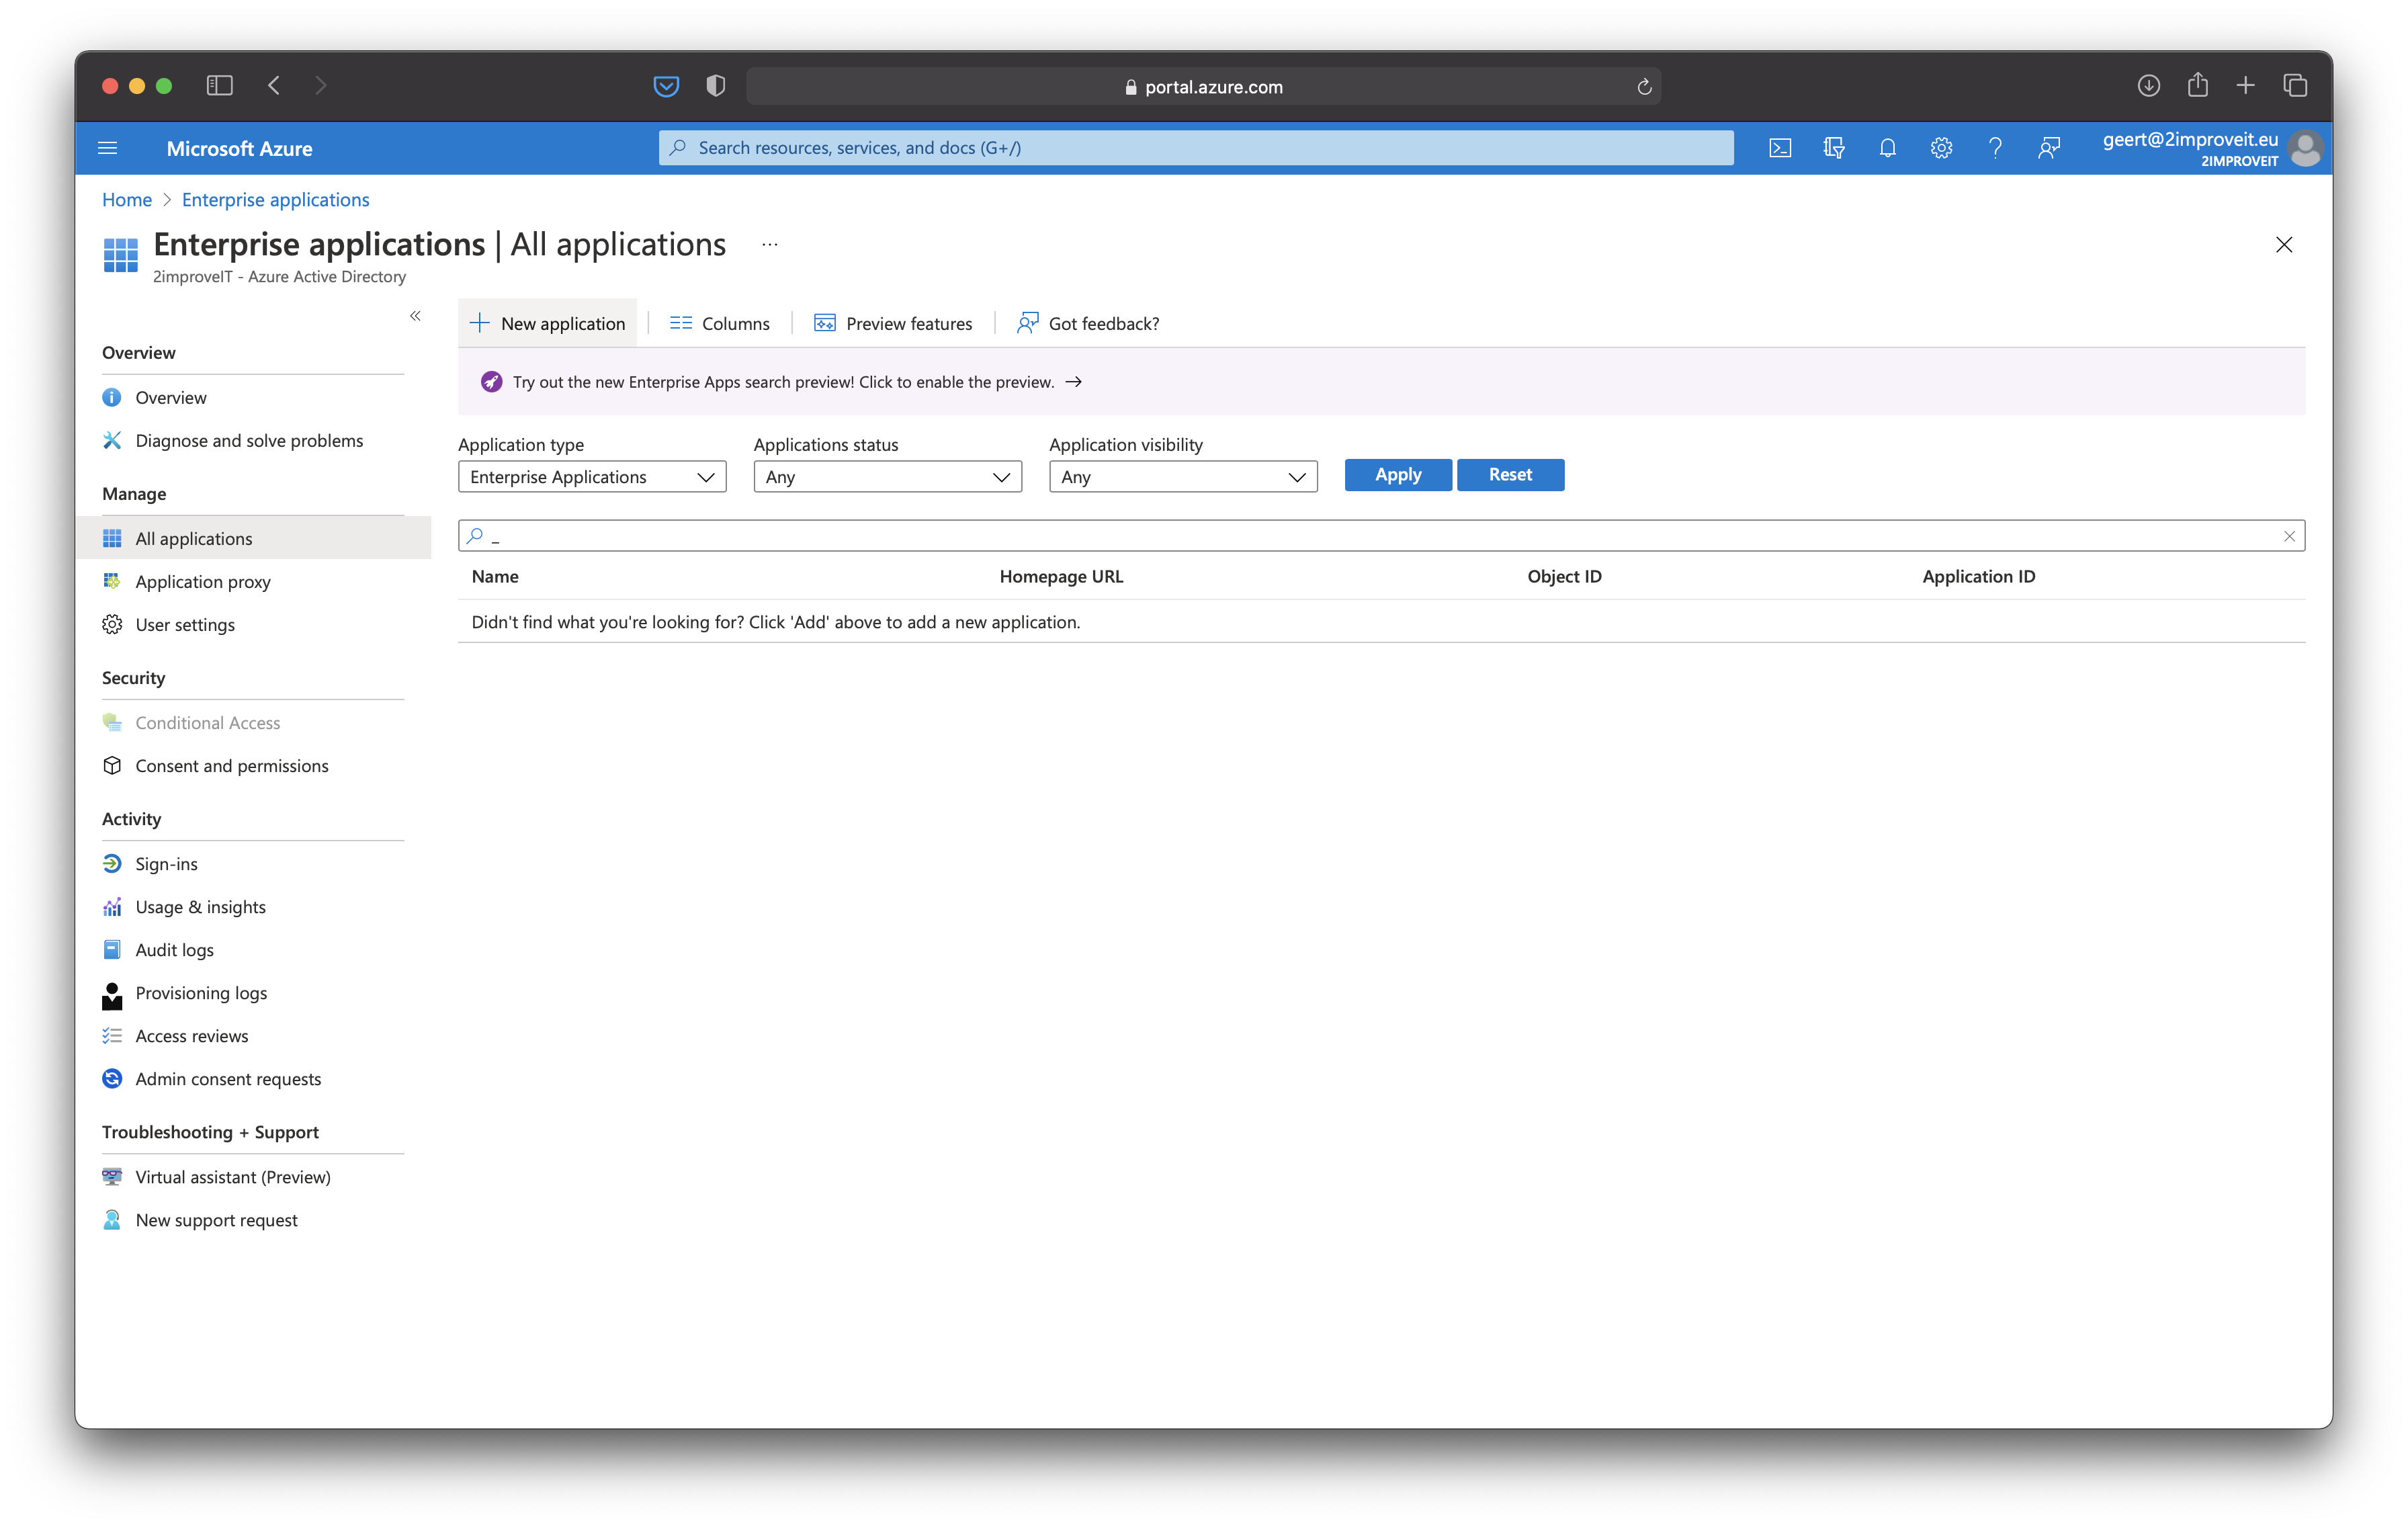
Click "New Application", "Create your own application", enter a name and select "Integrate any other application .. (Non-gallery)."
Click "Create"
In the left menu. Click "Sing sign-on" and select "SAML".
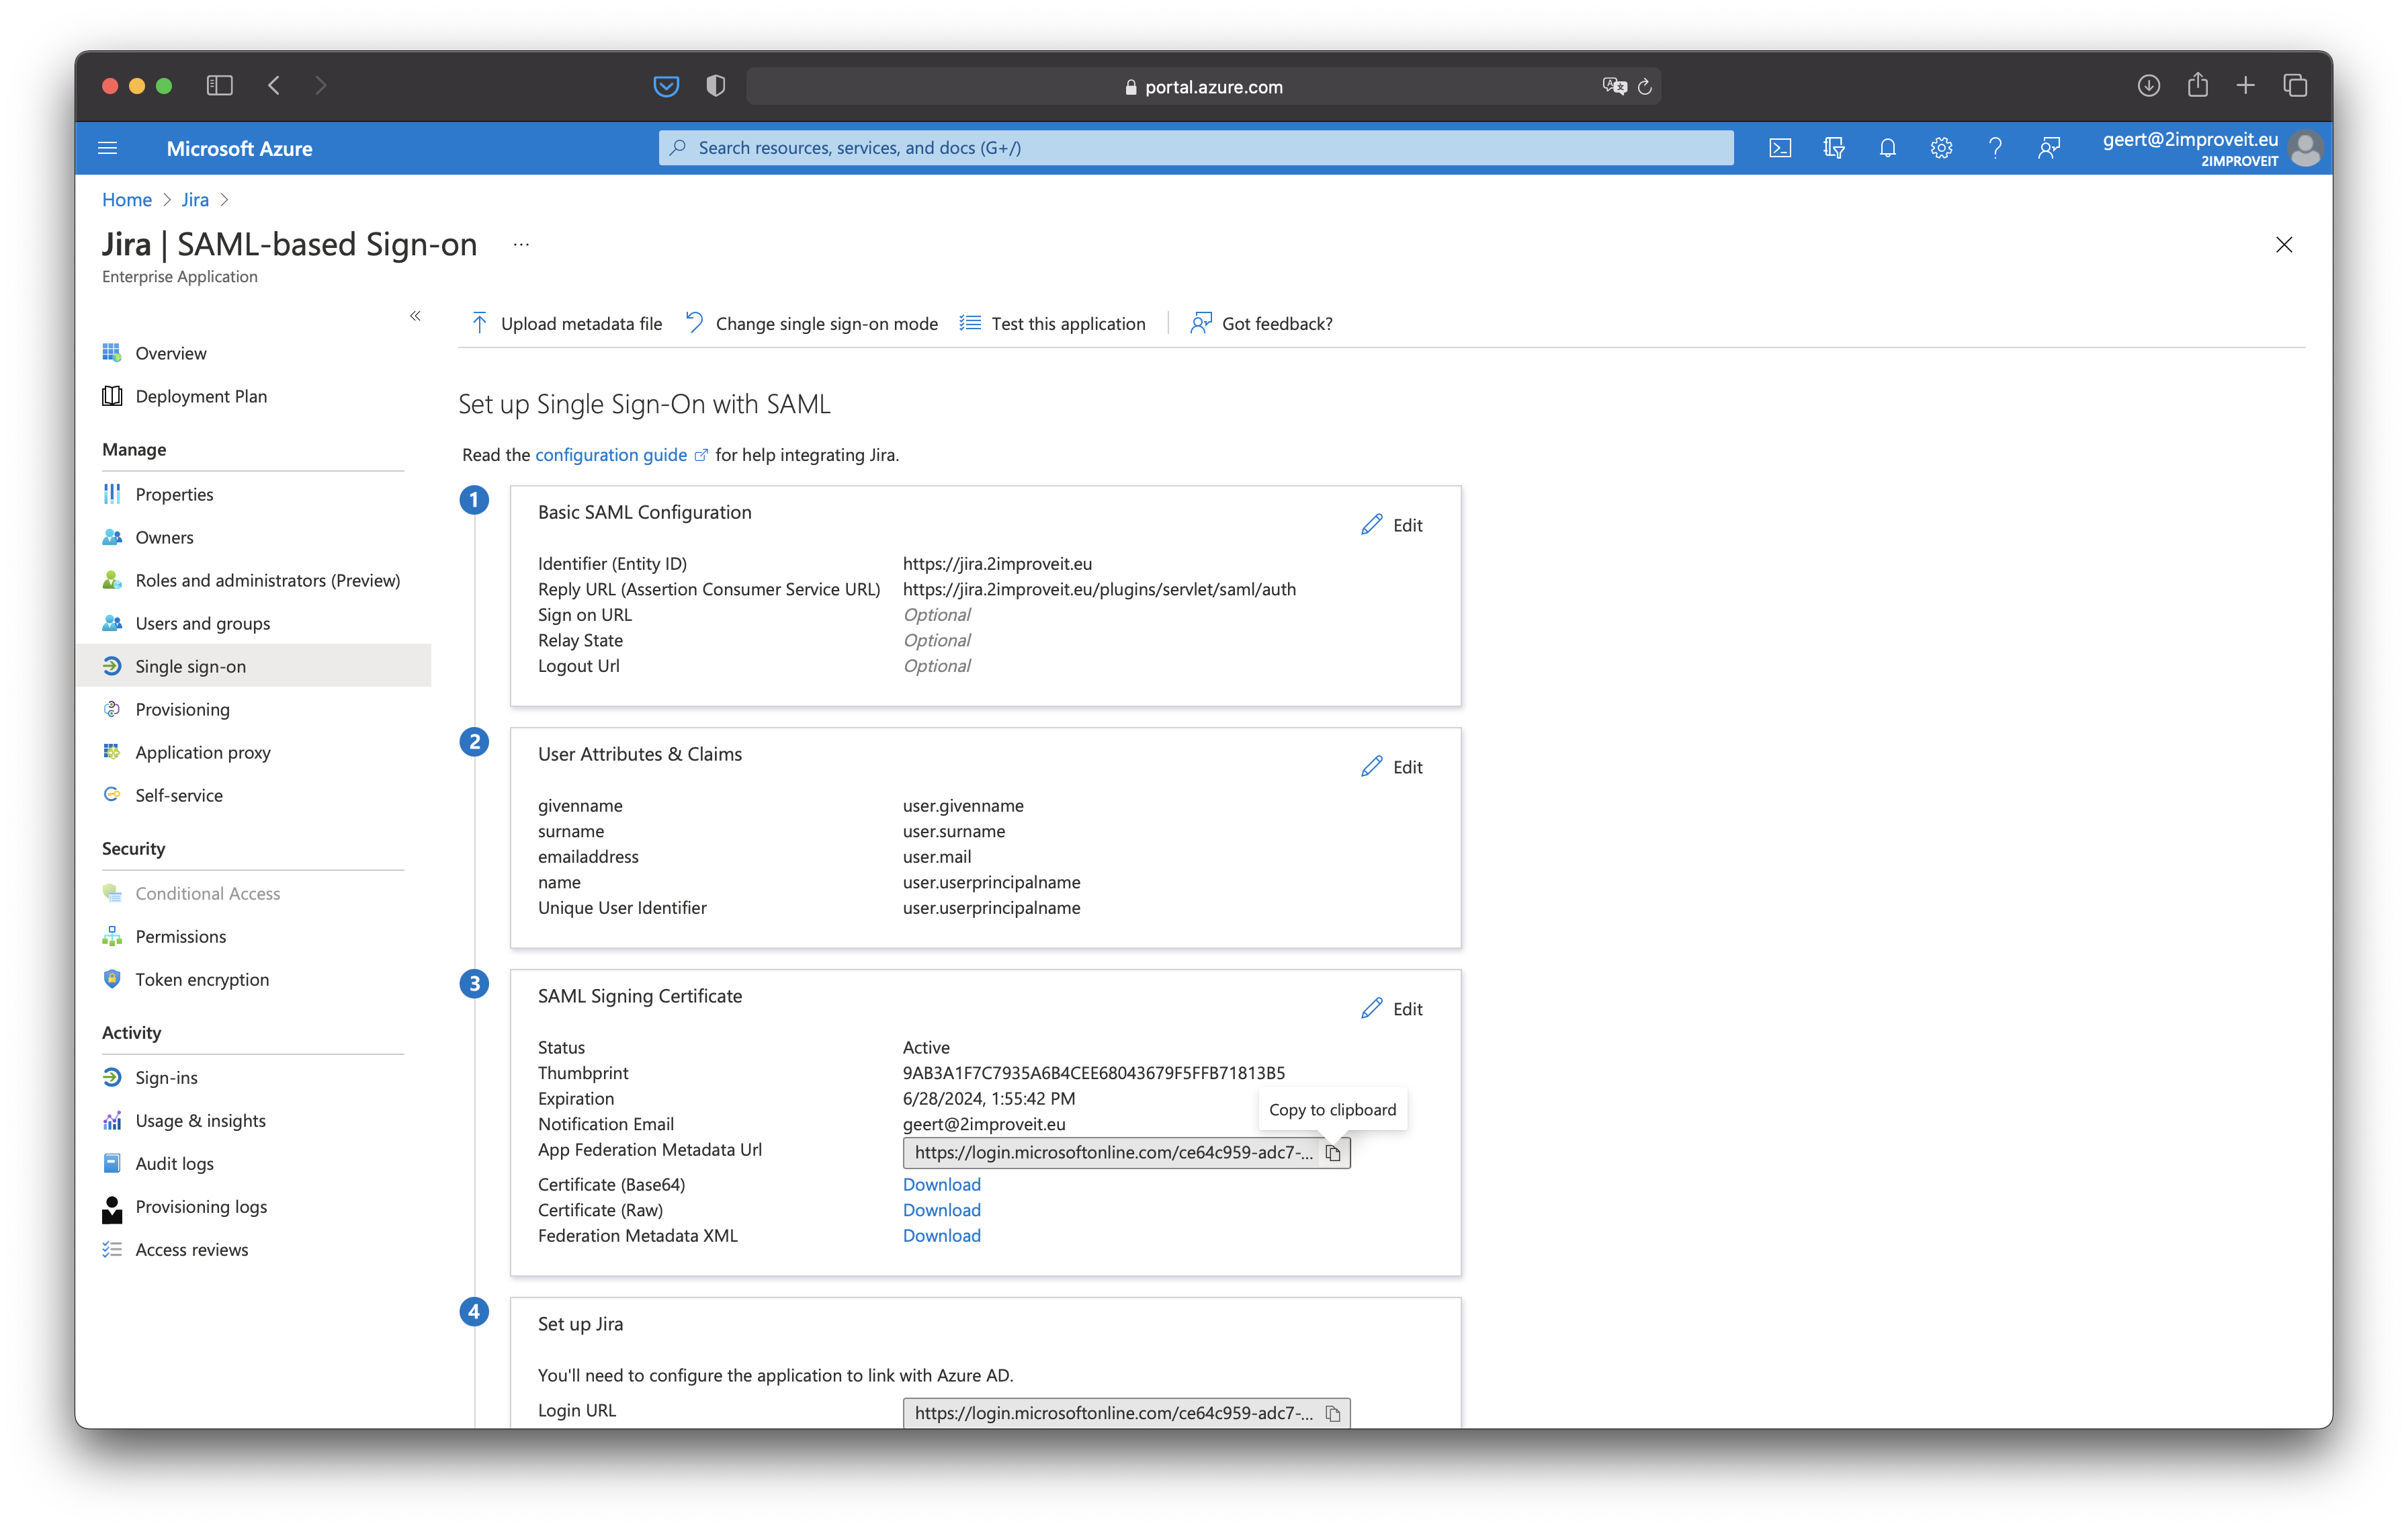
Click "Upload metadata file" and select the "sp xml" file you have downloaded. Click "Add". Click "Save".
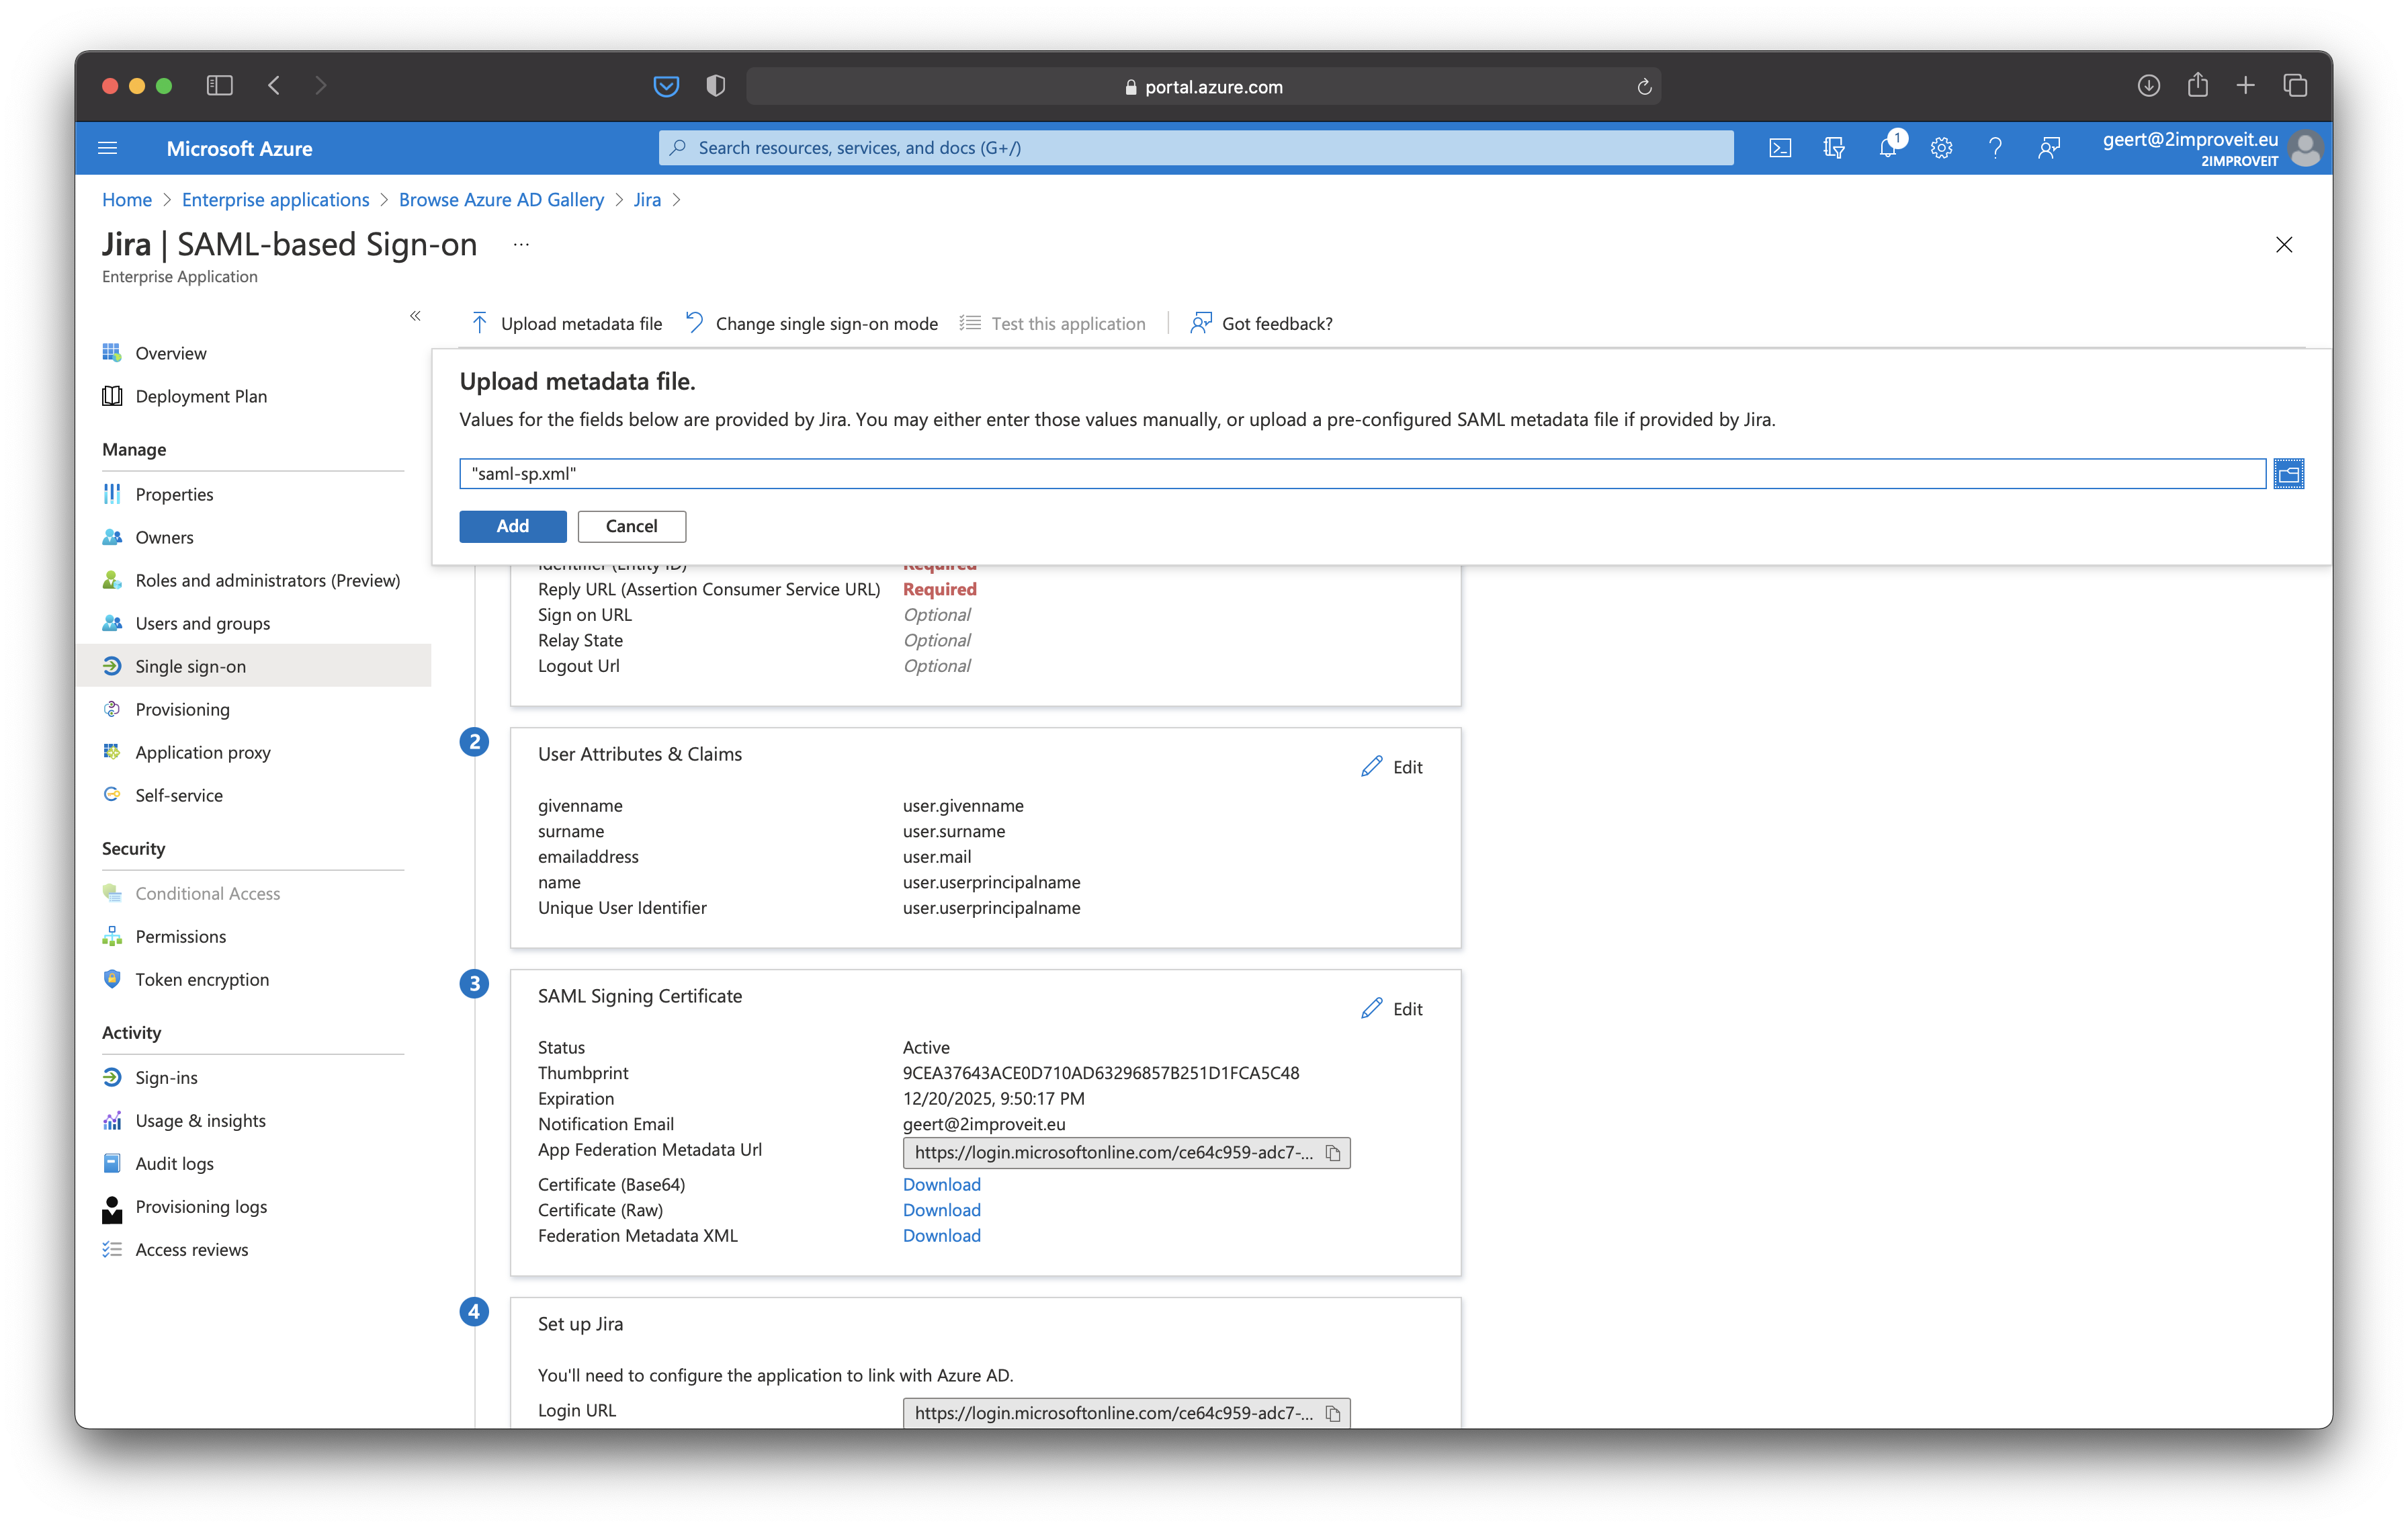
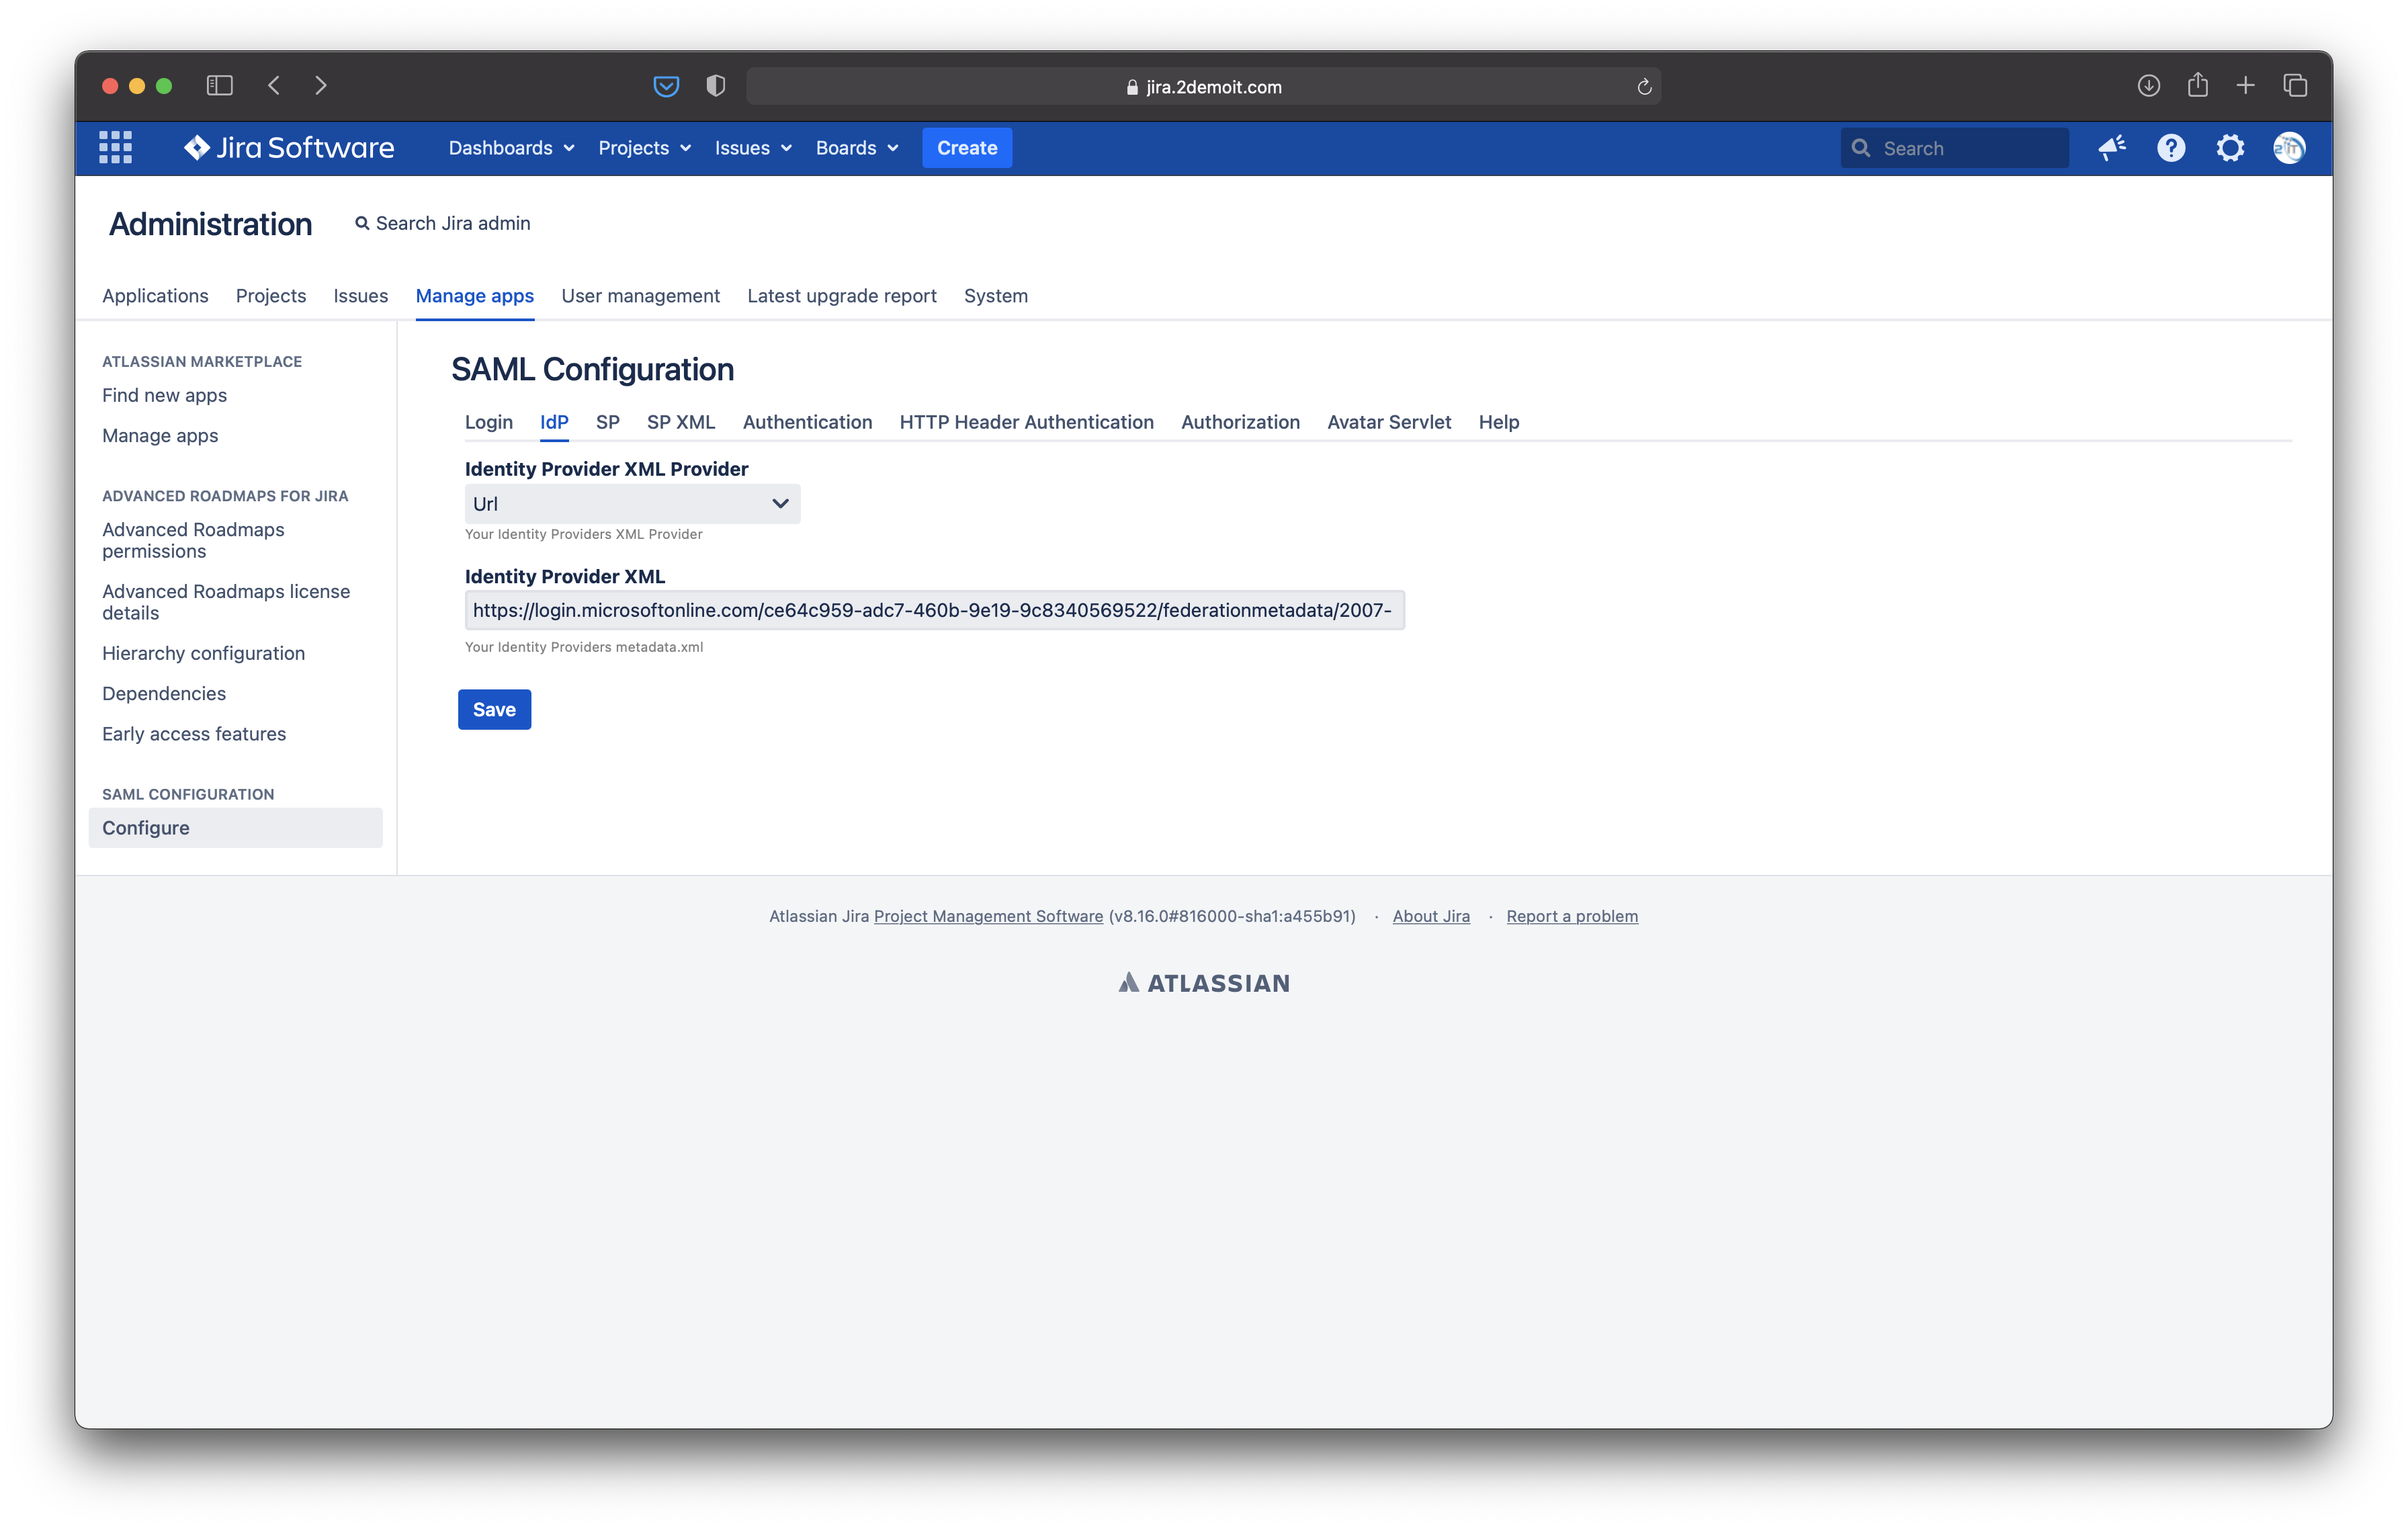
Refresh the "Single sign-on" page. Copy the "App Federation Metadata Url". Go back to the SAML plugin configuration and paste the url in "IdP provider xml" field.
| Note |
|---|
Do not forget to change the maxAuthenticationAge |
...
Here is an example how to configure the create User